I was named as an expert in a Rent. article. Check out the featured article here.
https://www.rent.com/blog/summer-things-to-do-in-atlanta/
“Atlanta residents should check out painting classes at DawnArt Studios in the heart of Midtown,” recommends Dawn Martin with DawnArt Studios. “With group classes and private lessons available, you can find the right fit to get you started painting, get back into your art after a hiatus, or take your painting to the next level. DawnArt Studios is a relaxed learning environment for ages 16 and over.”
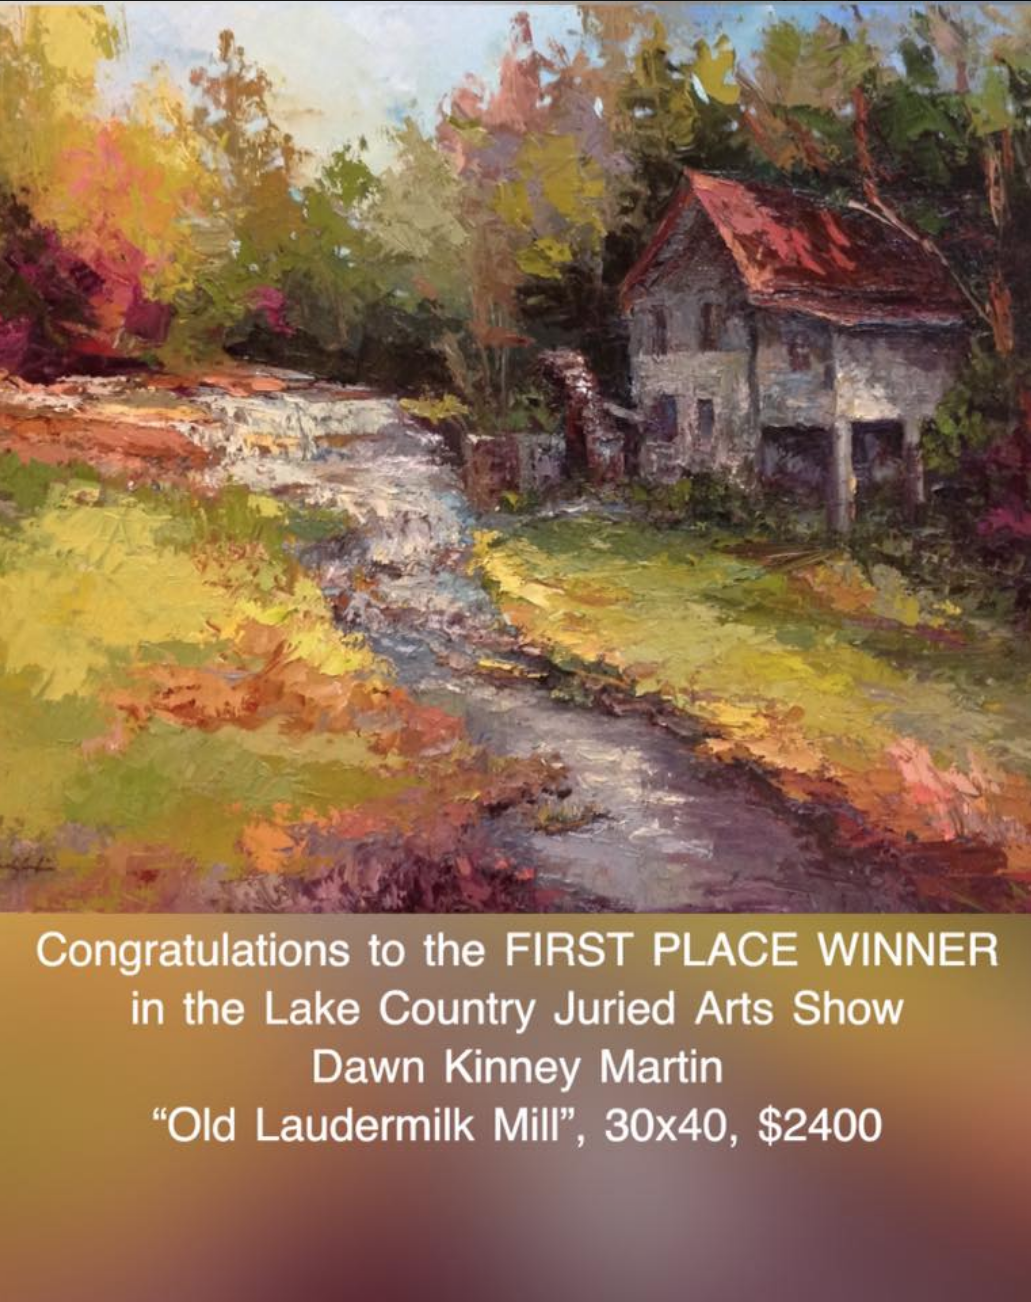
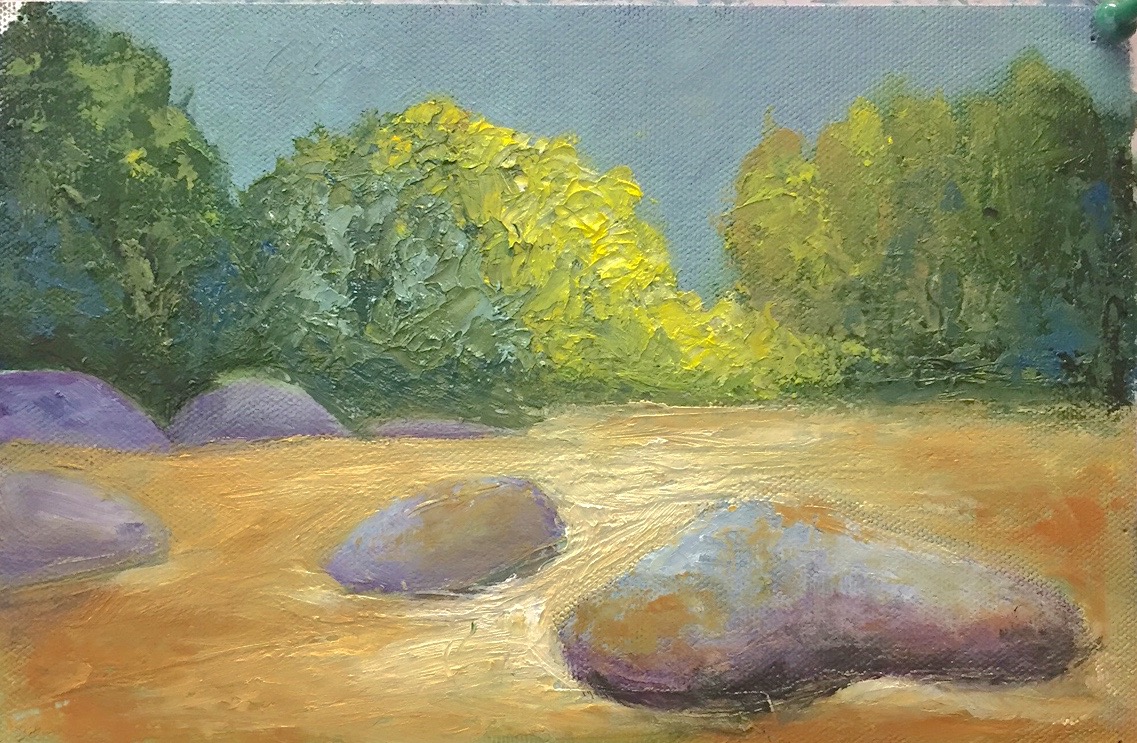
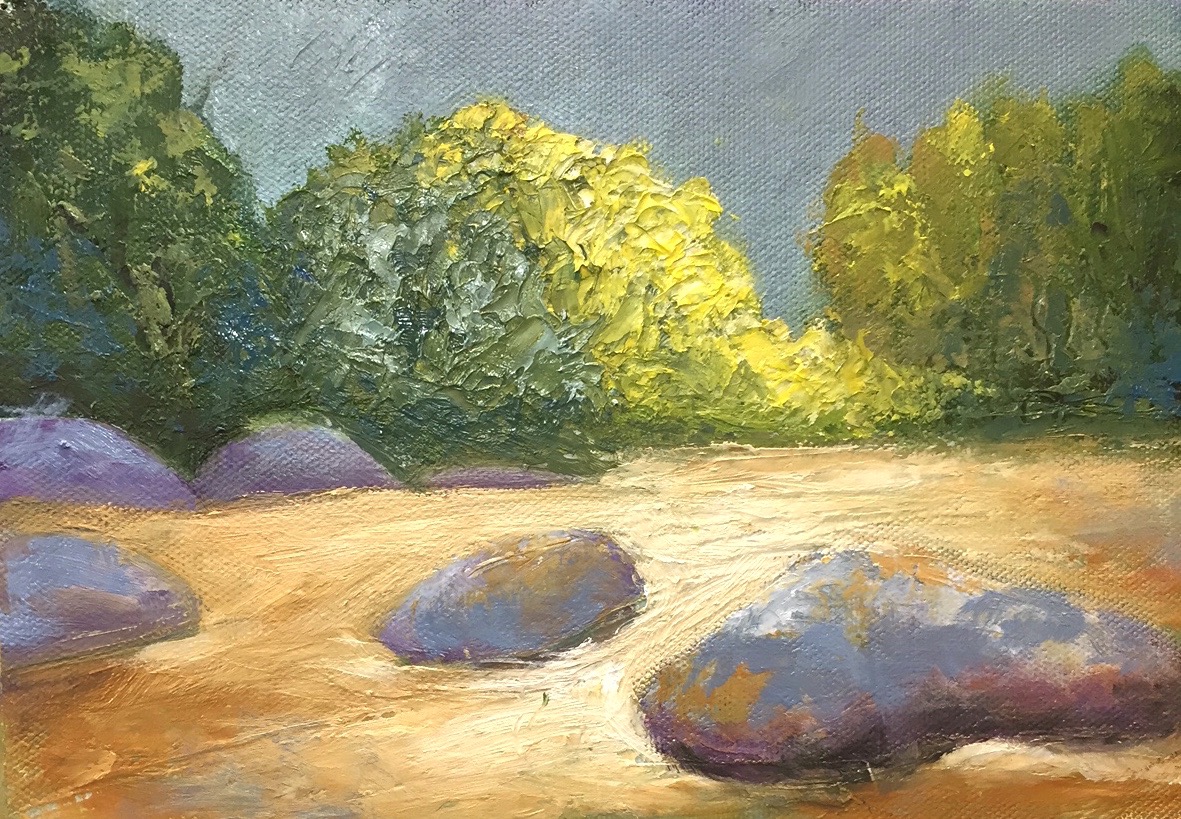
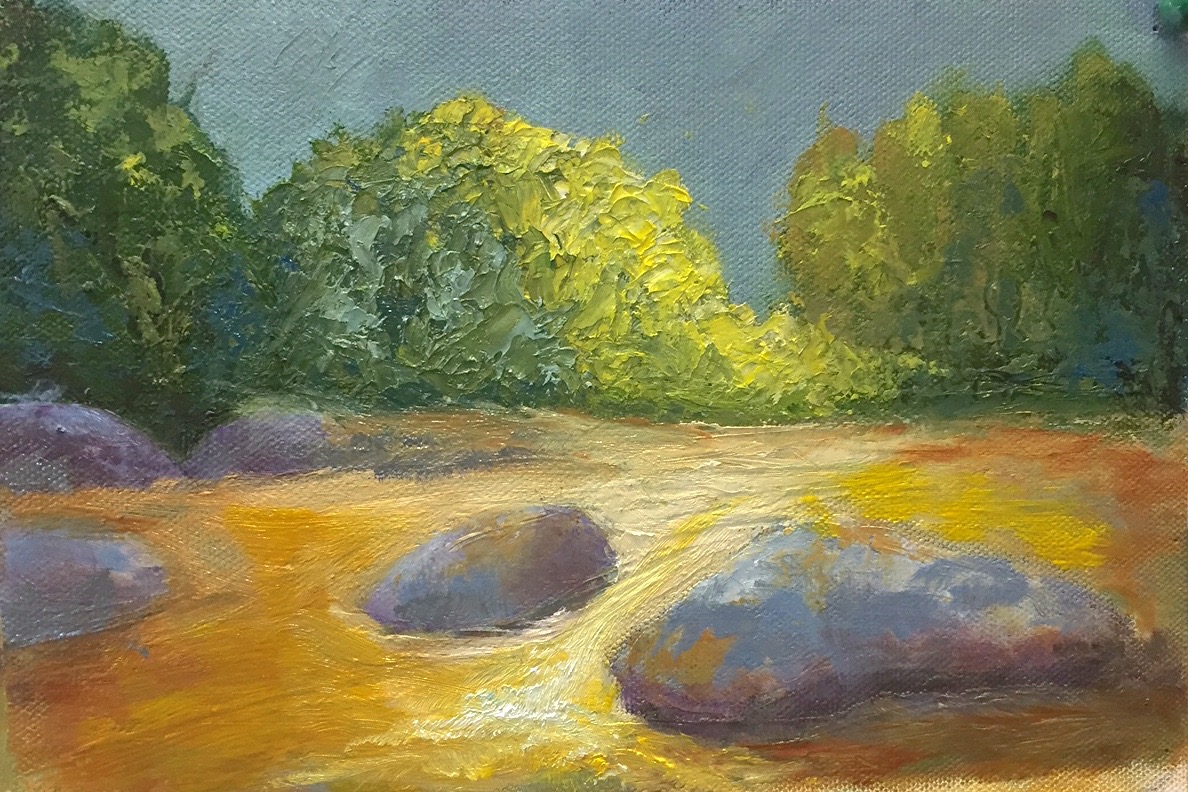
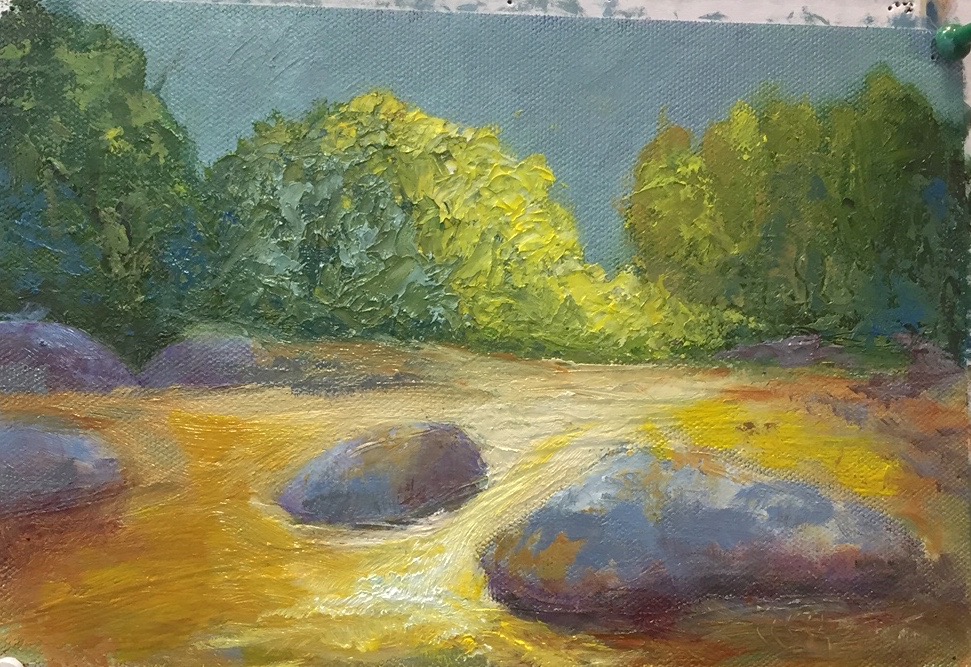
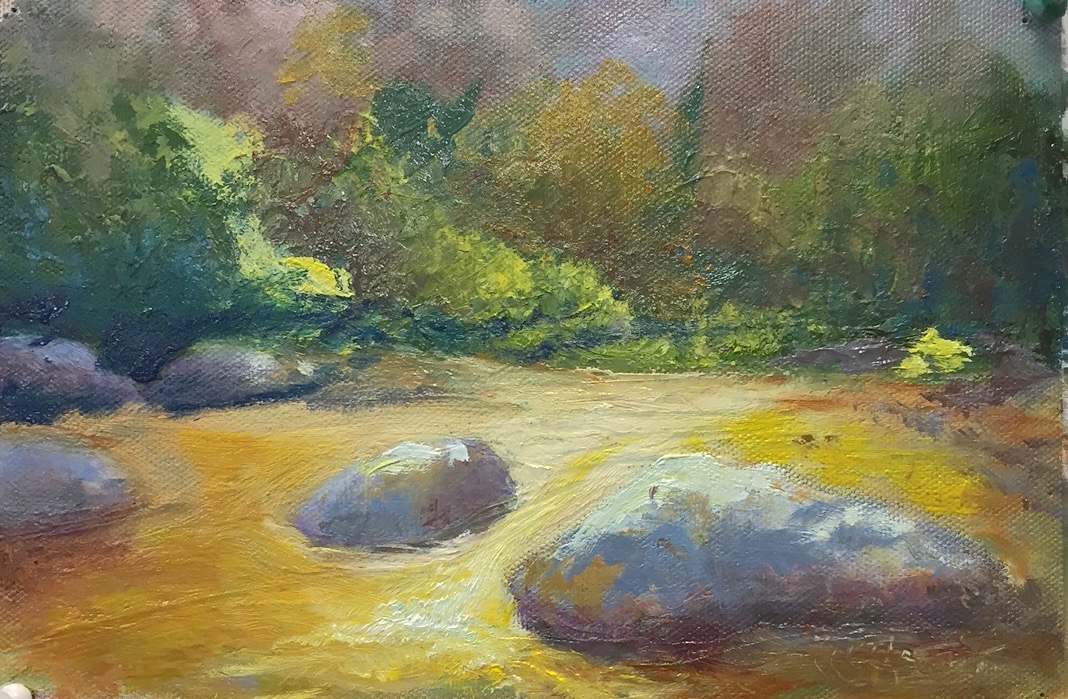
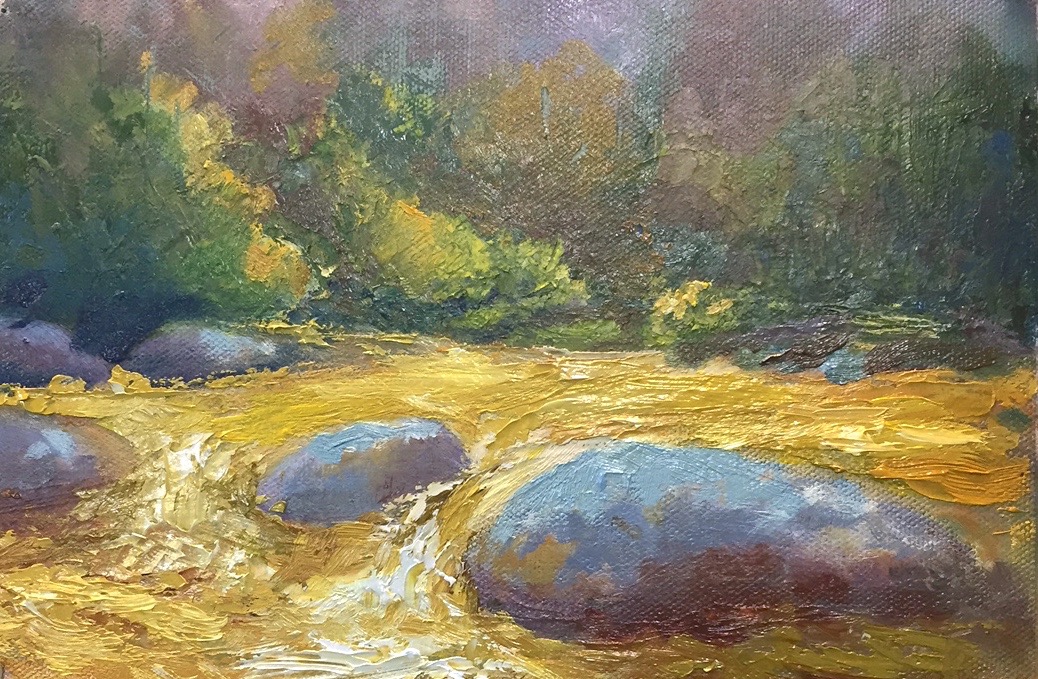
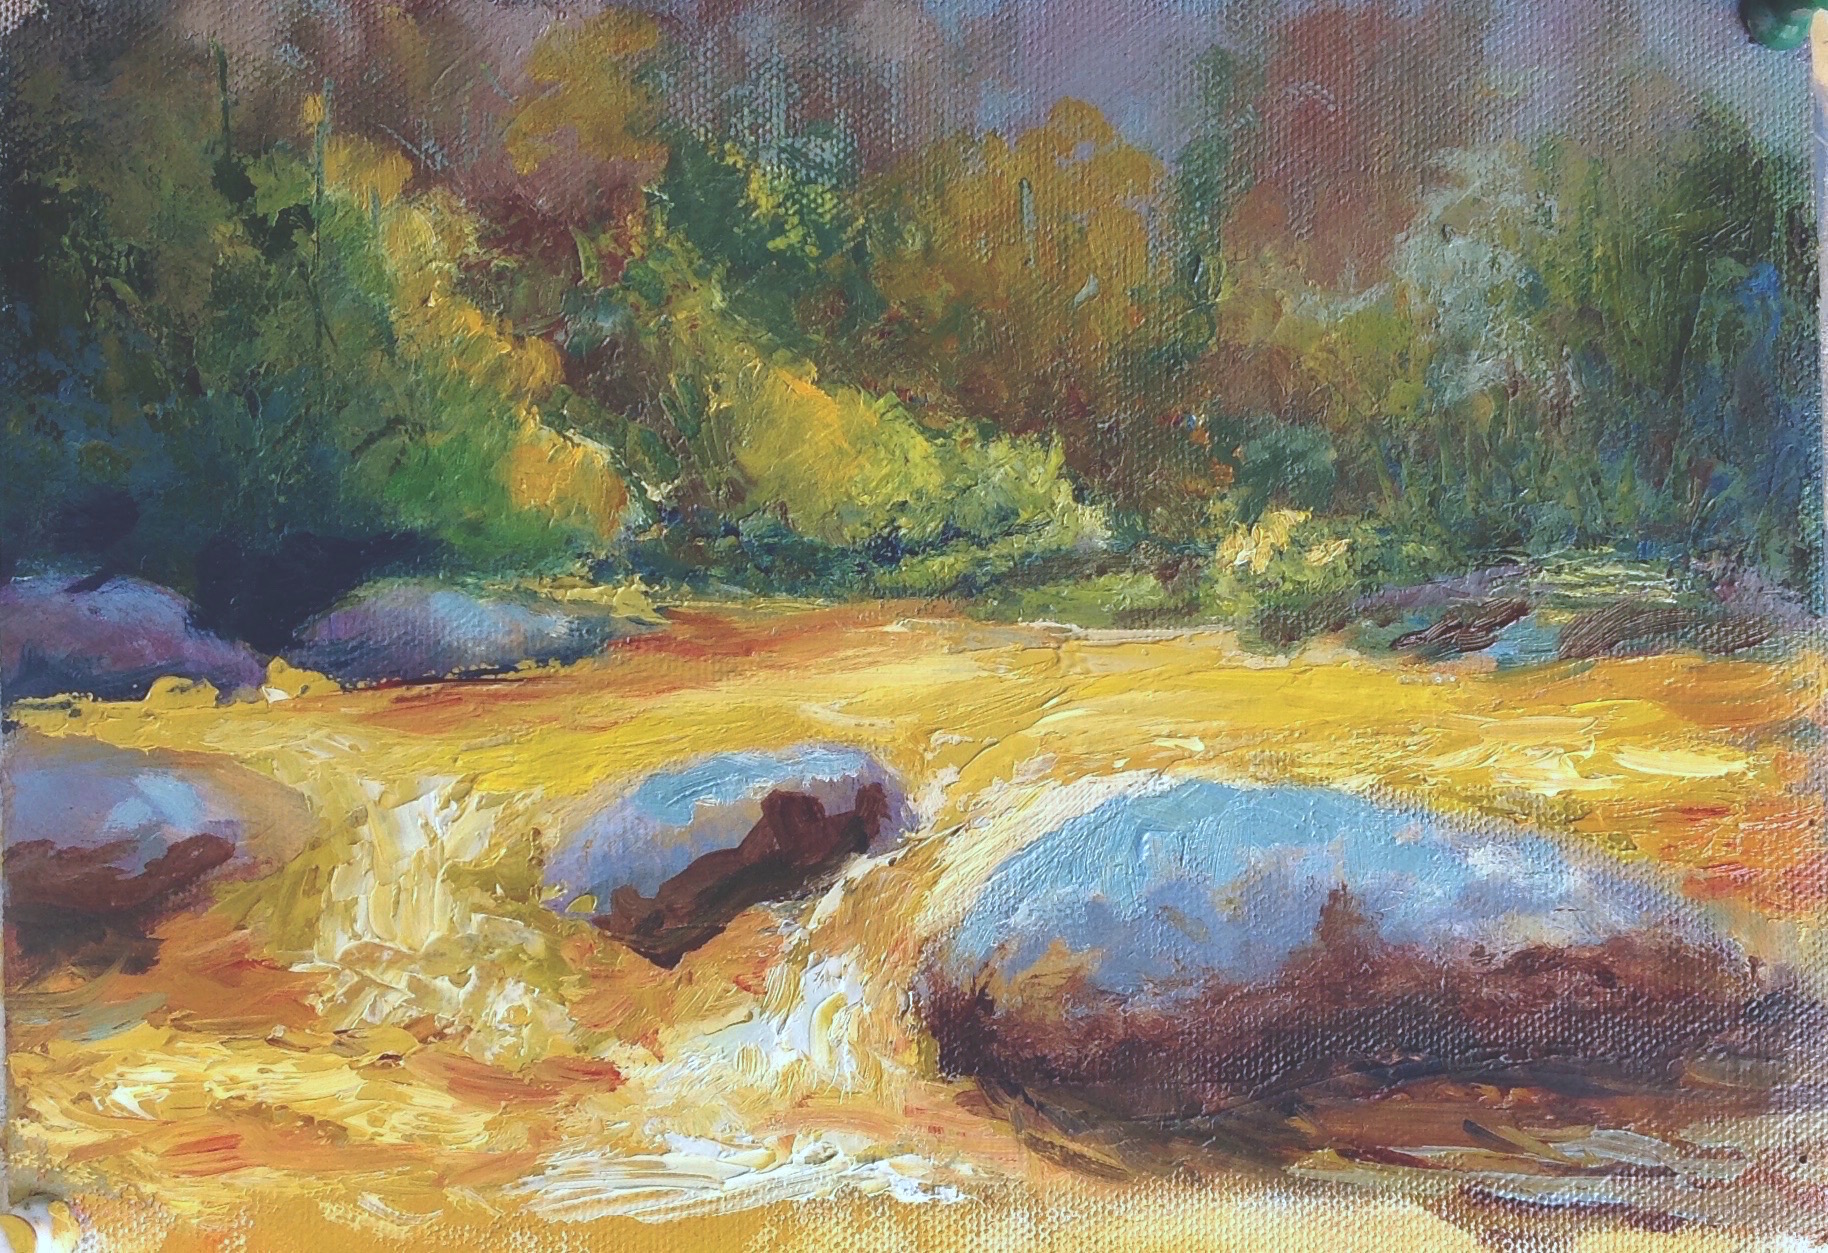
Also, check out my latest painting. Now for sale on the gallery page. https://www.dawnart.com/shop

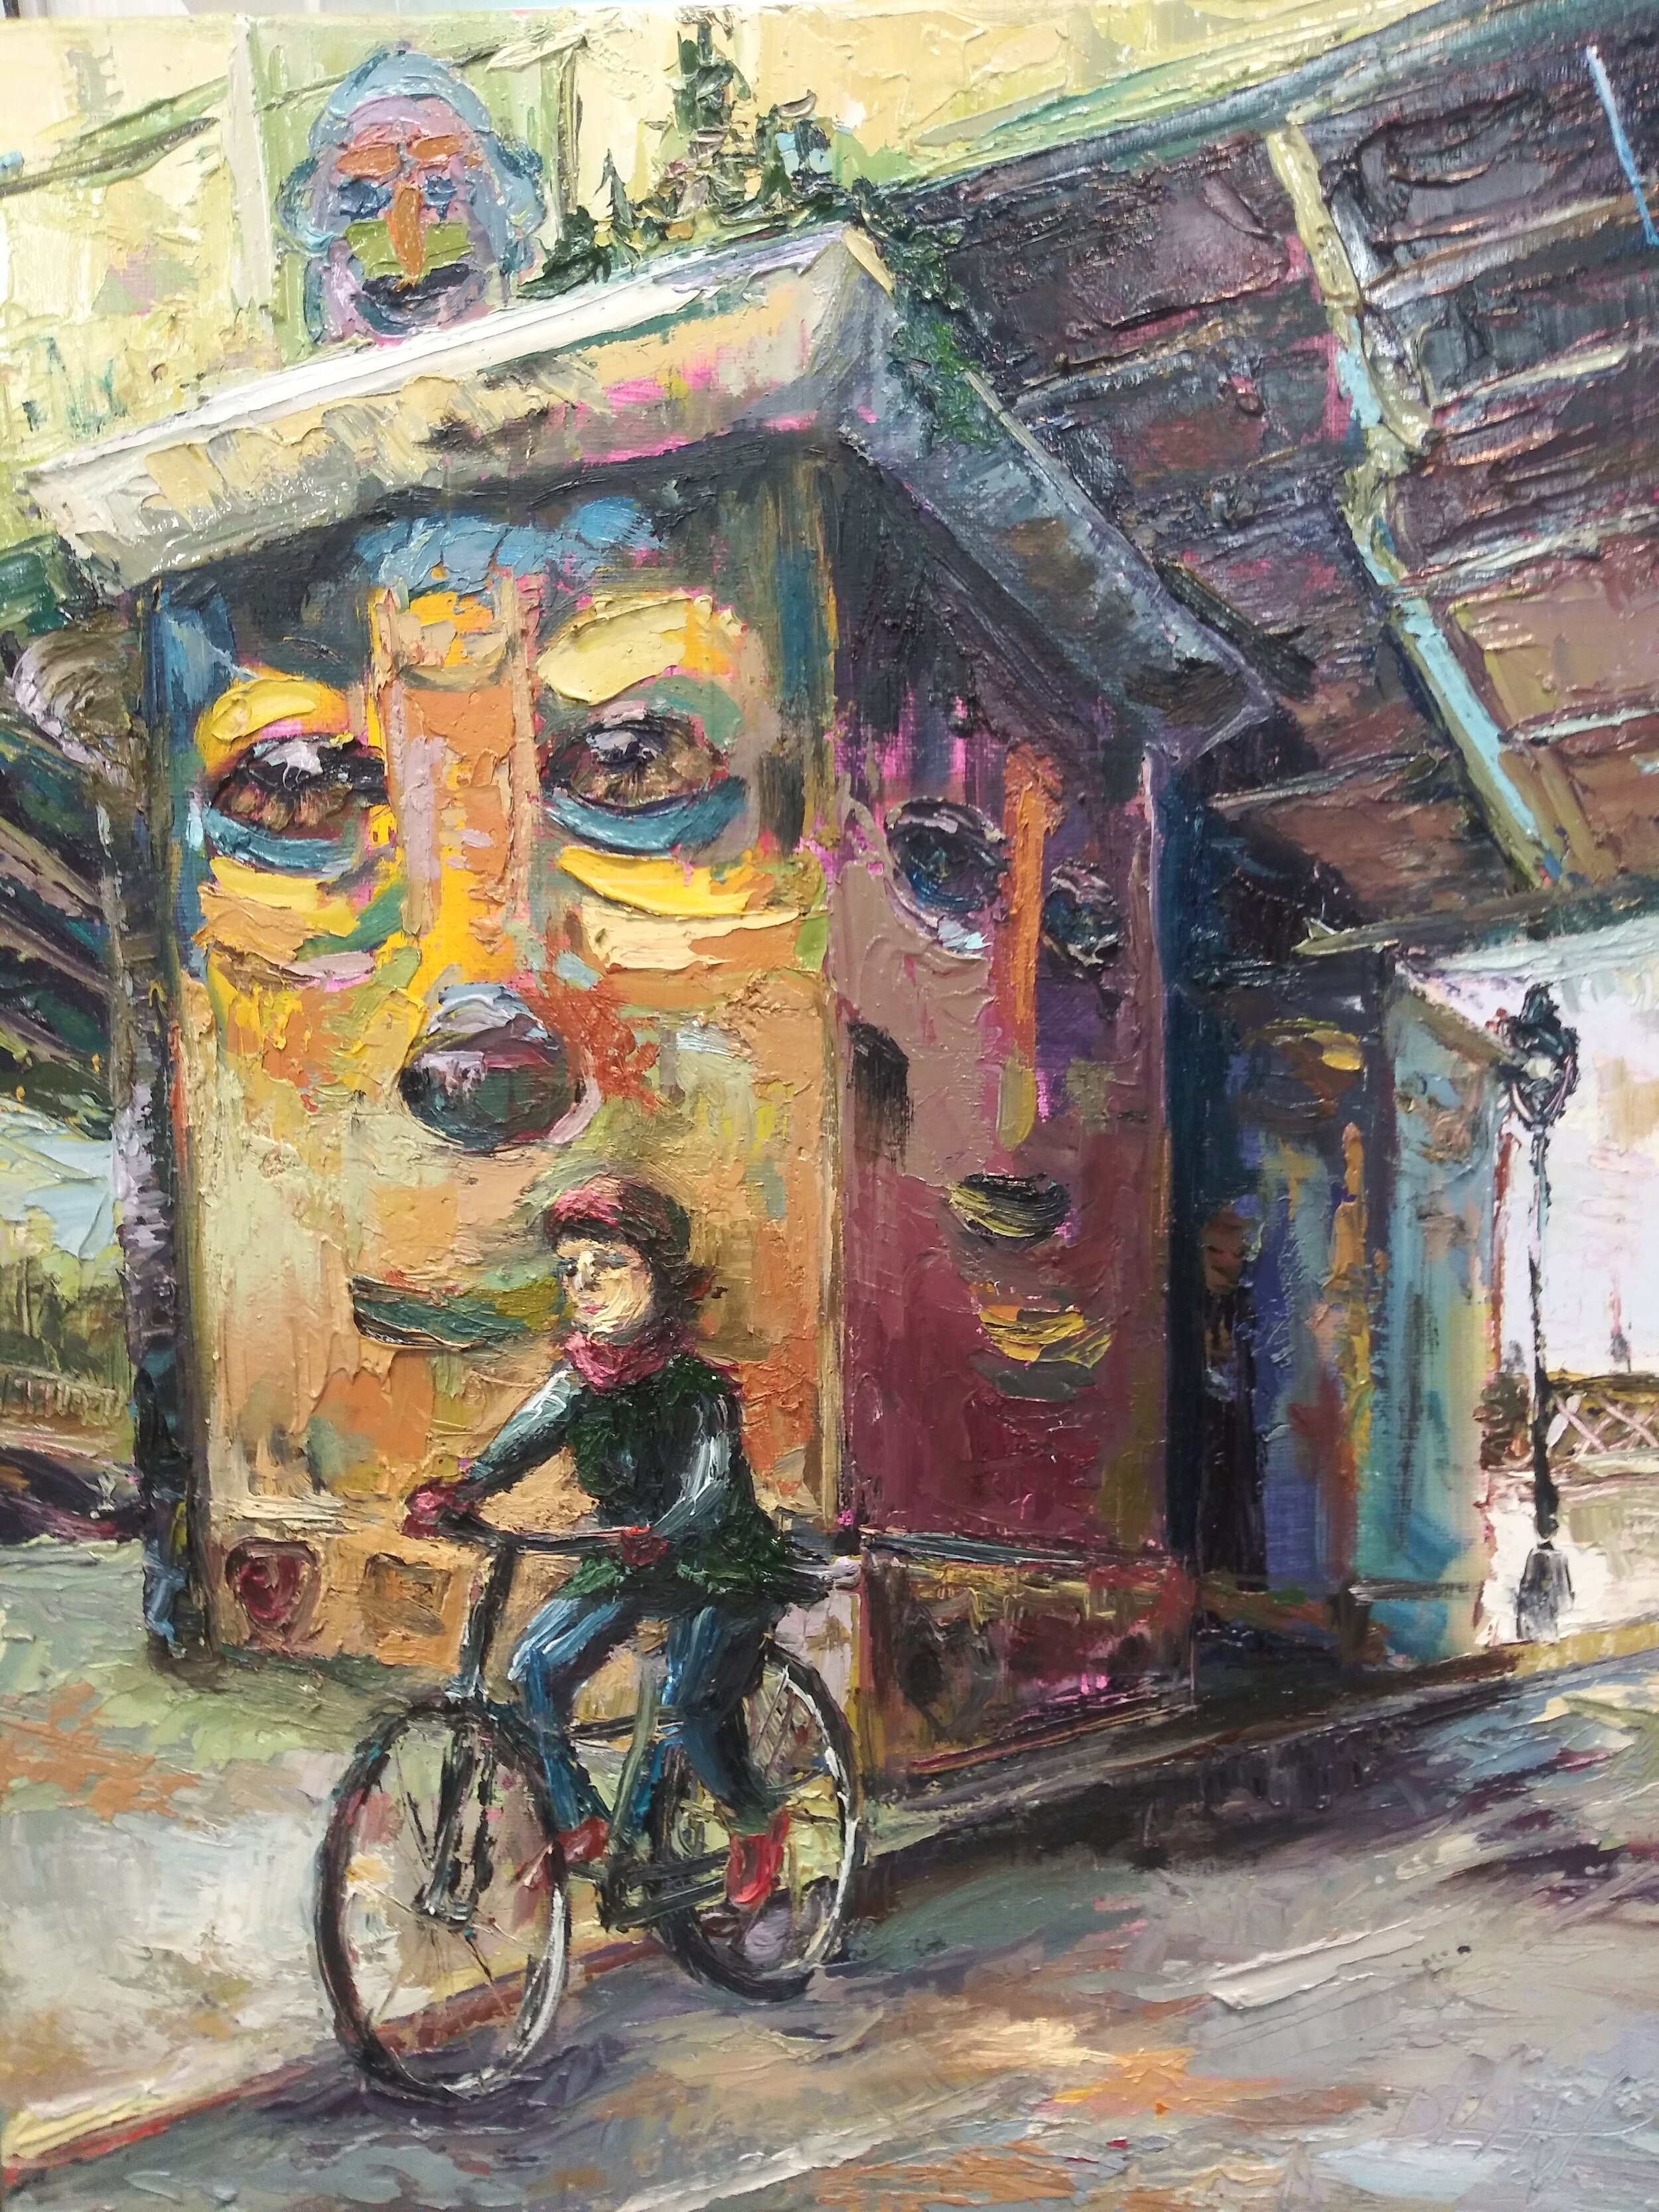
Menu Shopping in Provence 24” x 24”