Studio bathroom remodel has started! Before the tub and toilet fell through the floor, we decided to pull everything out and replace the sub floor and update the space. You can see in the first photo, just how bad the floor is. Now I need someone to come over the help me get the tub out of there!!!
Celebrate Local Artists
Celebrating Local Artists!! Join us June 11th, 2:30 - 5:30
The Tuesday Night Studio's 13th anniversary show at the Limelight Gallery in Binders Art Supplies. Don't miss a chance to meet all these wonderful artists and celebrate their accomplishments. We will have live music and a wine tasting as well.
Decatur Arts Festival this Weekend
Decatur Art Festival is this Weekend!!
I've been painting up a storm and have a lot of new work to show. It's May 27 - 28 Sat 10 - 6 and 11 - 5 on Sun. The Art show is on Ponce deLeon and you can find me in booth #70, In front of the old courthouse. More info here
Classes and Workshops
Tuesday Evening Painting Studio
Tue, July 11 - Aug 6:15pm - 9:15pm 4 Weeks $140,
Painting Techniques for all levels
Wed, June 21 - Aug 2 10:00am - 1:00pm 6 Weeks $225.
Plein Air Retreat Coastal North Carolina **2 spaces left** Thurs, Oct 12 - 15. 3 nights lodging and some meals included. Check in Thurs. - check out Sun afternoon. $485
Paint Yelapa Mexico Feb 3 - 10 6 Person Max.
6 Day painting retreat. 5 night lodging, breakfast each day, one dinner party. Check out photos from my Jan 2017 trip here
Join me in celebrating local artists thisl June 11 2:30 - 3:30 at the Buckhead Binders Art Store and Gallery
Take Control of Your Paintings: Class Recap
Here is a short slideshow of last weeks demo. One of my students brought a painting in and asked me to worked on it. We decided to take it a different direction. Taking out the sky and adding trees in the background. We talked about making area recede and changing the way the light moved through the painting. Need a few finally touches. I can talk about that this week. Take a look if you have a chance. Let me know if you have questions,
Dawn
Get the most out of your paintings
Techniques class 1 Recap
By taking the time to work out your design and values before hitting the canvas can make the experience more enjoyable and result in a better painting. If you haven't decided where you are going with the painting or what are the most important elements, you can spend most of your painting time trying to work through all that and it will show.
Here is a recap of what we covered in class today. Working from a photo, create as many gesture sketches as needed until you are happy with the design. These need to be fast and are meant to help you work through your ideas about the composition. Make as many adjustments as you need. Next step, create a value painting using black, gray, and, white. By taking away the color in a study, it's much easier to see what is going on in the painting. Again, make any adjustments to make a stronger painting.
In this example, I am working from several different photos.
Below are my initial gesture sketches. The wagon is the focal point and the house is just the back drop. But in my first sketch the wagon is a minor player. I switched to oil pastel and tried agin. It wasn't until the 4th one, I came up with something I liked. I finally made the wagon the major part of the painting. I was able to work through this in about 30 mins. That's the beauty of a rough drawing, just keep tossing them out until you get a good one.
Gesture sketches for wagon painting
Next week - block in the painting with color.
I often will do this step in acrylic so that I can make quick adjustments before starting with the oils. When you"re happy with the overall design and color palette, it's time to paint!
Blocking in color for wagon painting
All of this took under and hour, and the time and struggle it will save for the rest of the painting will be well worth it.
We will work on blocking in the color in next weeks class.
Second week making color notes.
Below you can see the next steps. Making color and value decisions.


Until then - have a great week!
Dawn
Hope to see you out there.
Happy fall, Dawn
Atlanta Dogwood Festival April 7 - 10
New paintings ready for the show.
Spring is here and that means the Atlanta Dogwood Festival is right around the corner!
This is always my first show of the year and I can't wait. I've been painting up a storm and have a lot of new work to show. It's April 7 - 9 in Piedmont Park and you can find me in booth #111. More info here
Classes and Workshops
Tuesday Evening Painting Studio
Tue, April 4 - June 6 6:15pm - 9:15pm 10 Weeks $295, 5 weeks $175.
Painting Techniques for all levels *** 1 space left
Wed, April 19 - May 24 10:00am - 1:00pm 6 Weeks $225.
Plein Air Retreat At Parker Ranch
3 Day Workshop Fri. May 5, 1:00pm through Sun. May 7, 3:00pm
Plein Air Retreat Coastal North Carolina **2 spaces left** Thurs, Oct 12 - 15. 3 nights lodging and some meals included. Check in Thurs. - check out Sun afternoon. $485
Paint Yelapa Mexico Feb 3 - 10 6 Person Max.
6 Day painting retreat. 5 night lodging, breakfast each day, one dinner party. Check out photos from my Jan 2017 trip here
I hope to see you in a class soon. Please get in touch if you have something you'd like to see me teach.
For more info, check out my Classes page.
Hooray for spring!
Dawn
Art Framing - Using Spring Clips
I know I've always said I'd never make videos, but after giving a talk at the Eatonton Art Guild, there were a lot of questions on how to use the hardware I recommended. I just happened to be in the studio framing that day, so a no frills video seemed like the easiest way to explain myself!
Hope you find this helpful,
Dawn
PS this is where I order my spring clamp American Frame
http://www.americanframe.com/products/wood-picture-frame-spring-clip-f9100.aspx
Plein Air Workshop Supply List
Enjoy painting in the great outdoors
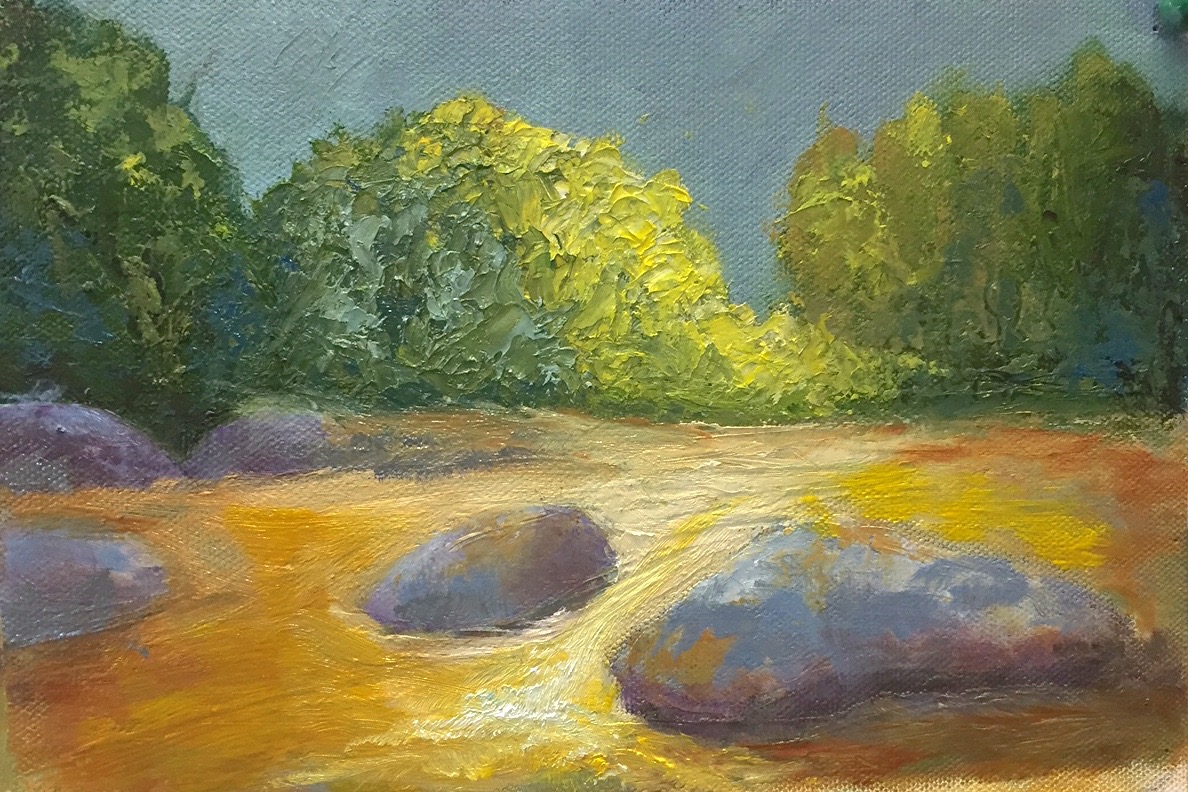
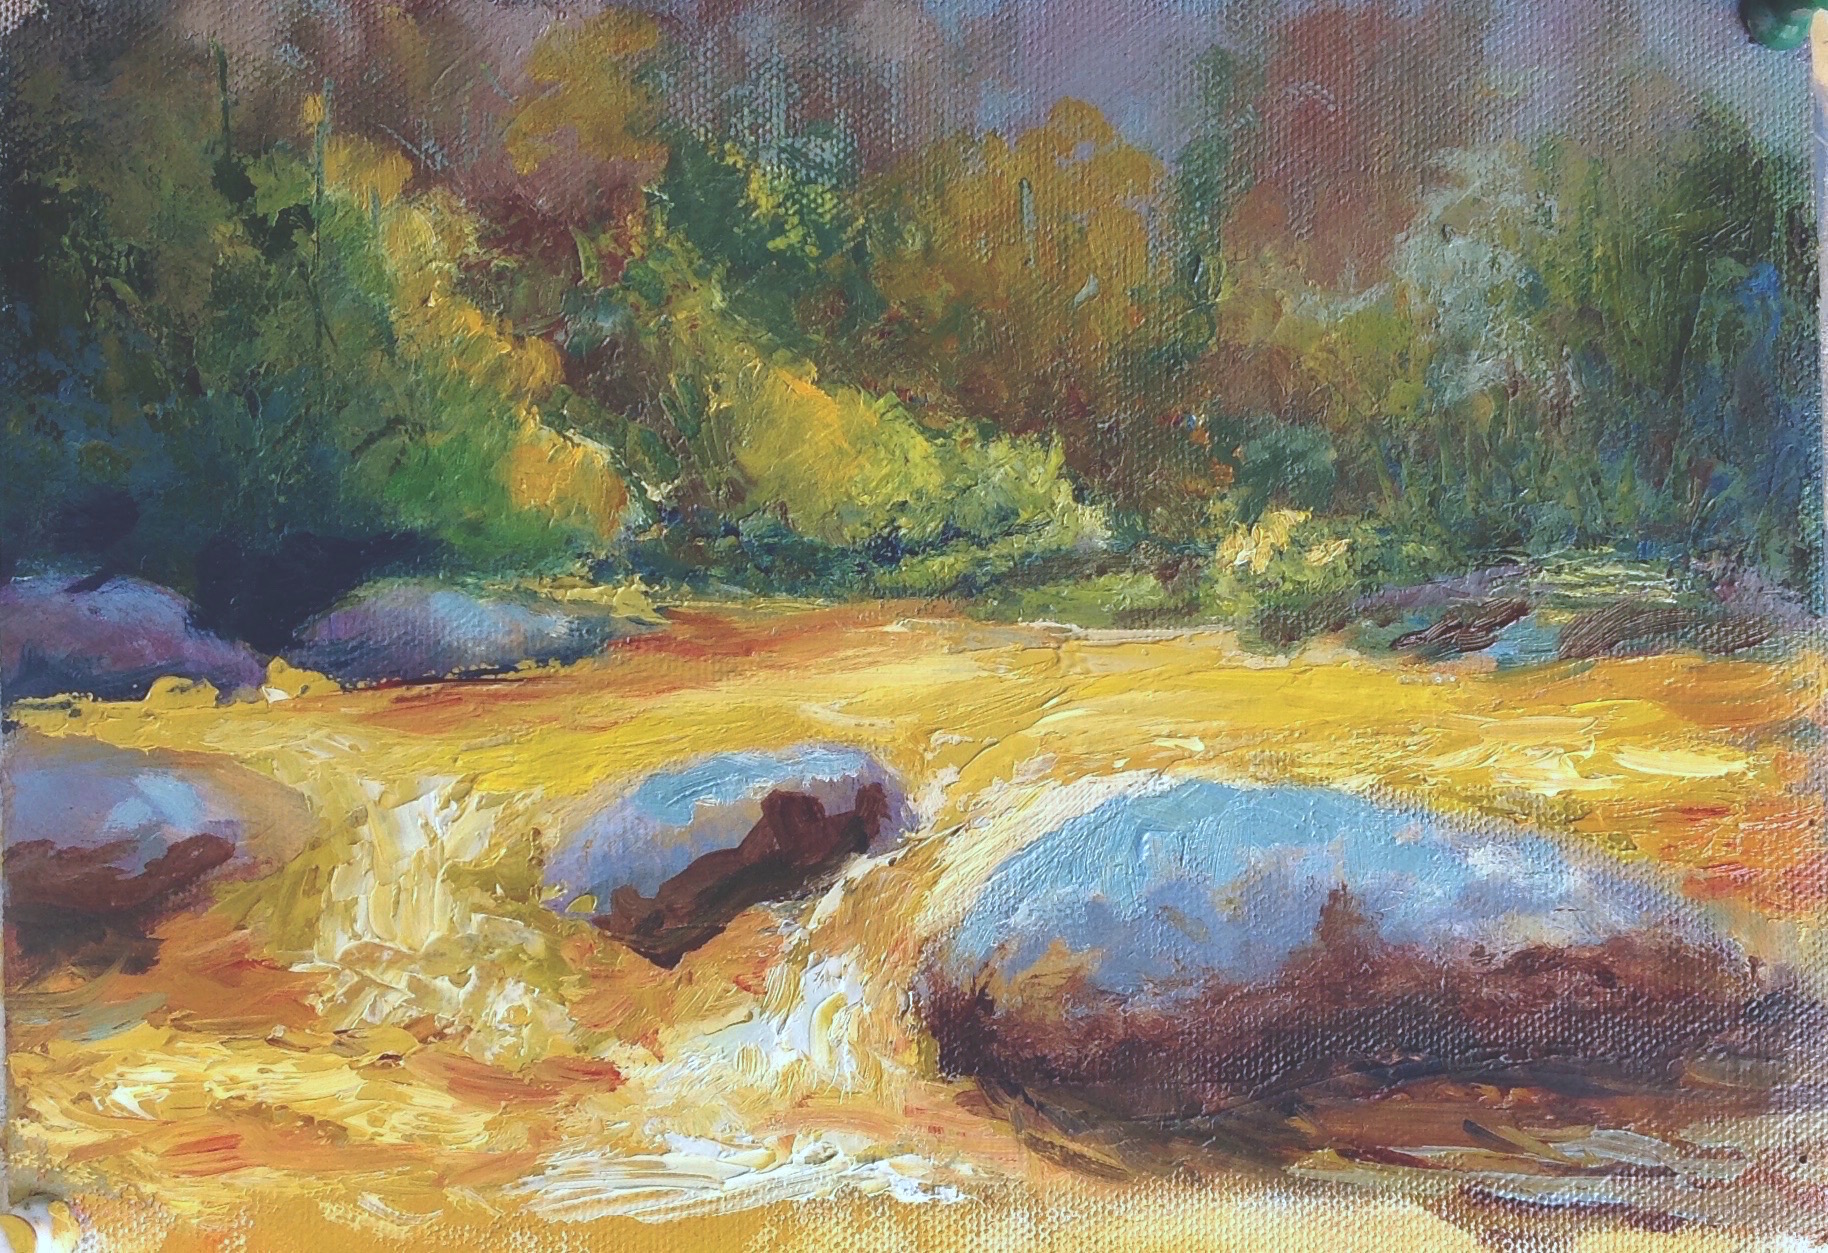
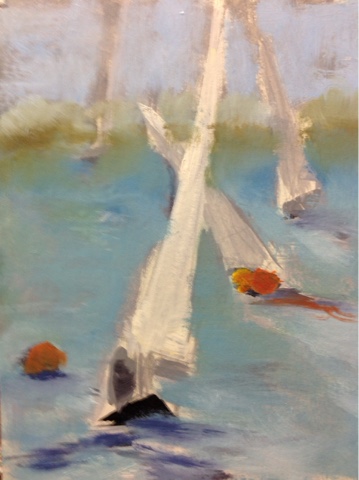
Plein Air Suggested Supply List New to plein air? Here are a few tips to help get you started. Ready to get started? sign up for the 3 day plein air worksop in at The Parker Ranch in Clayton, GA May 5 - 7 http://dawnart.com/classes/2016/5/20/plein-air-retreat-at-parker-ranch
Supplies
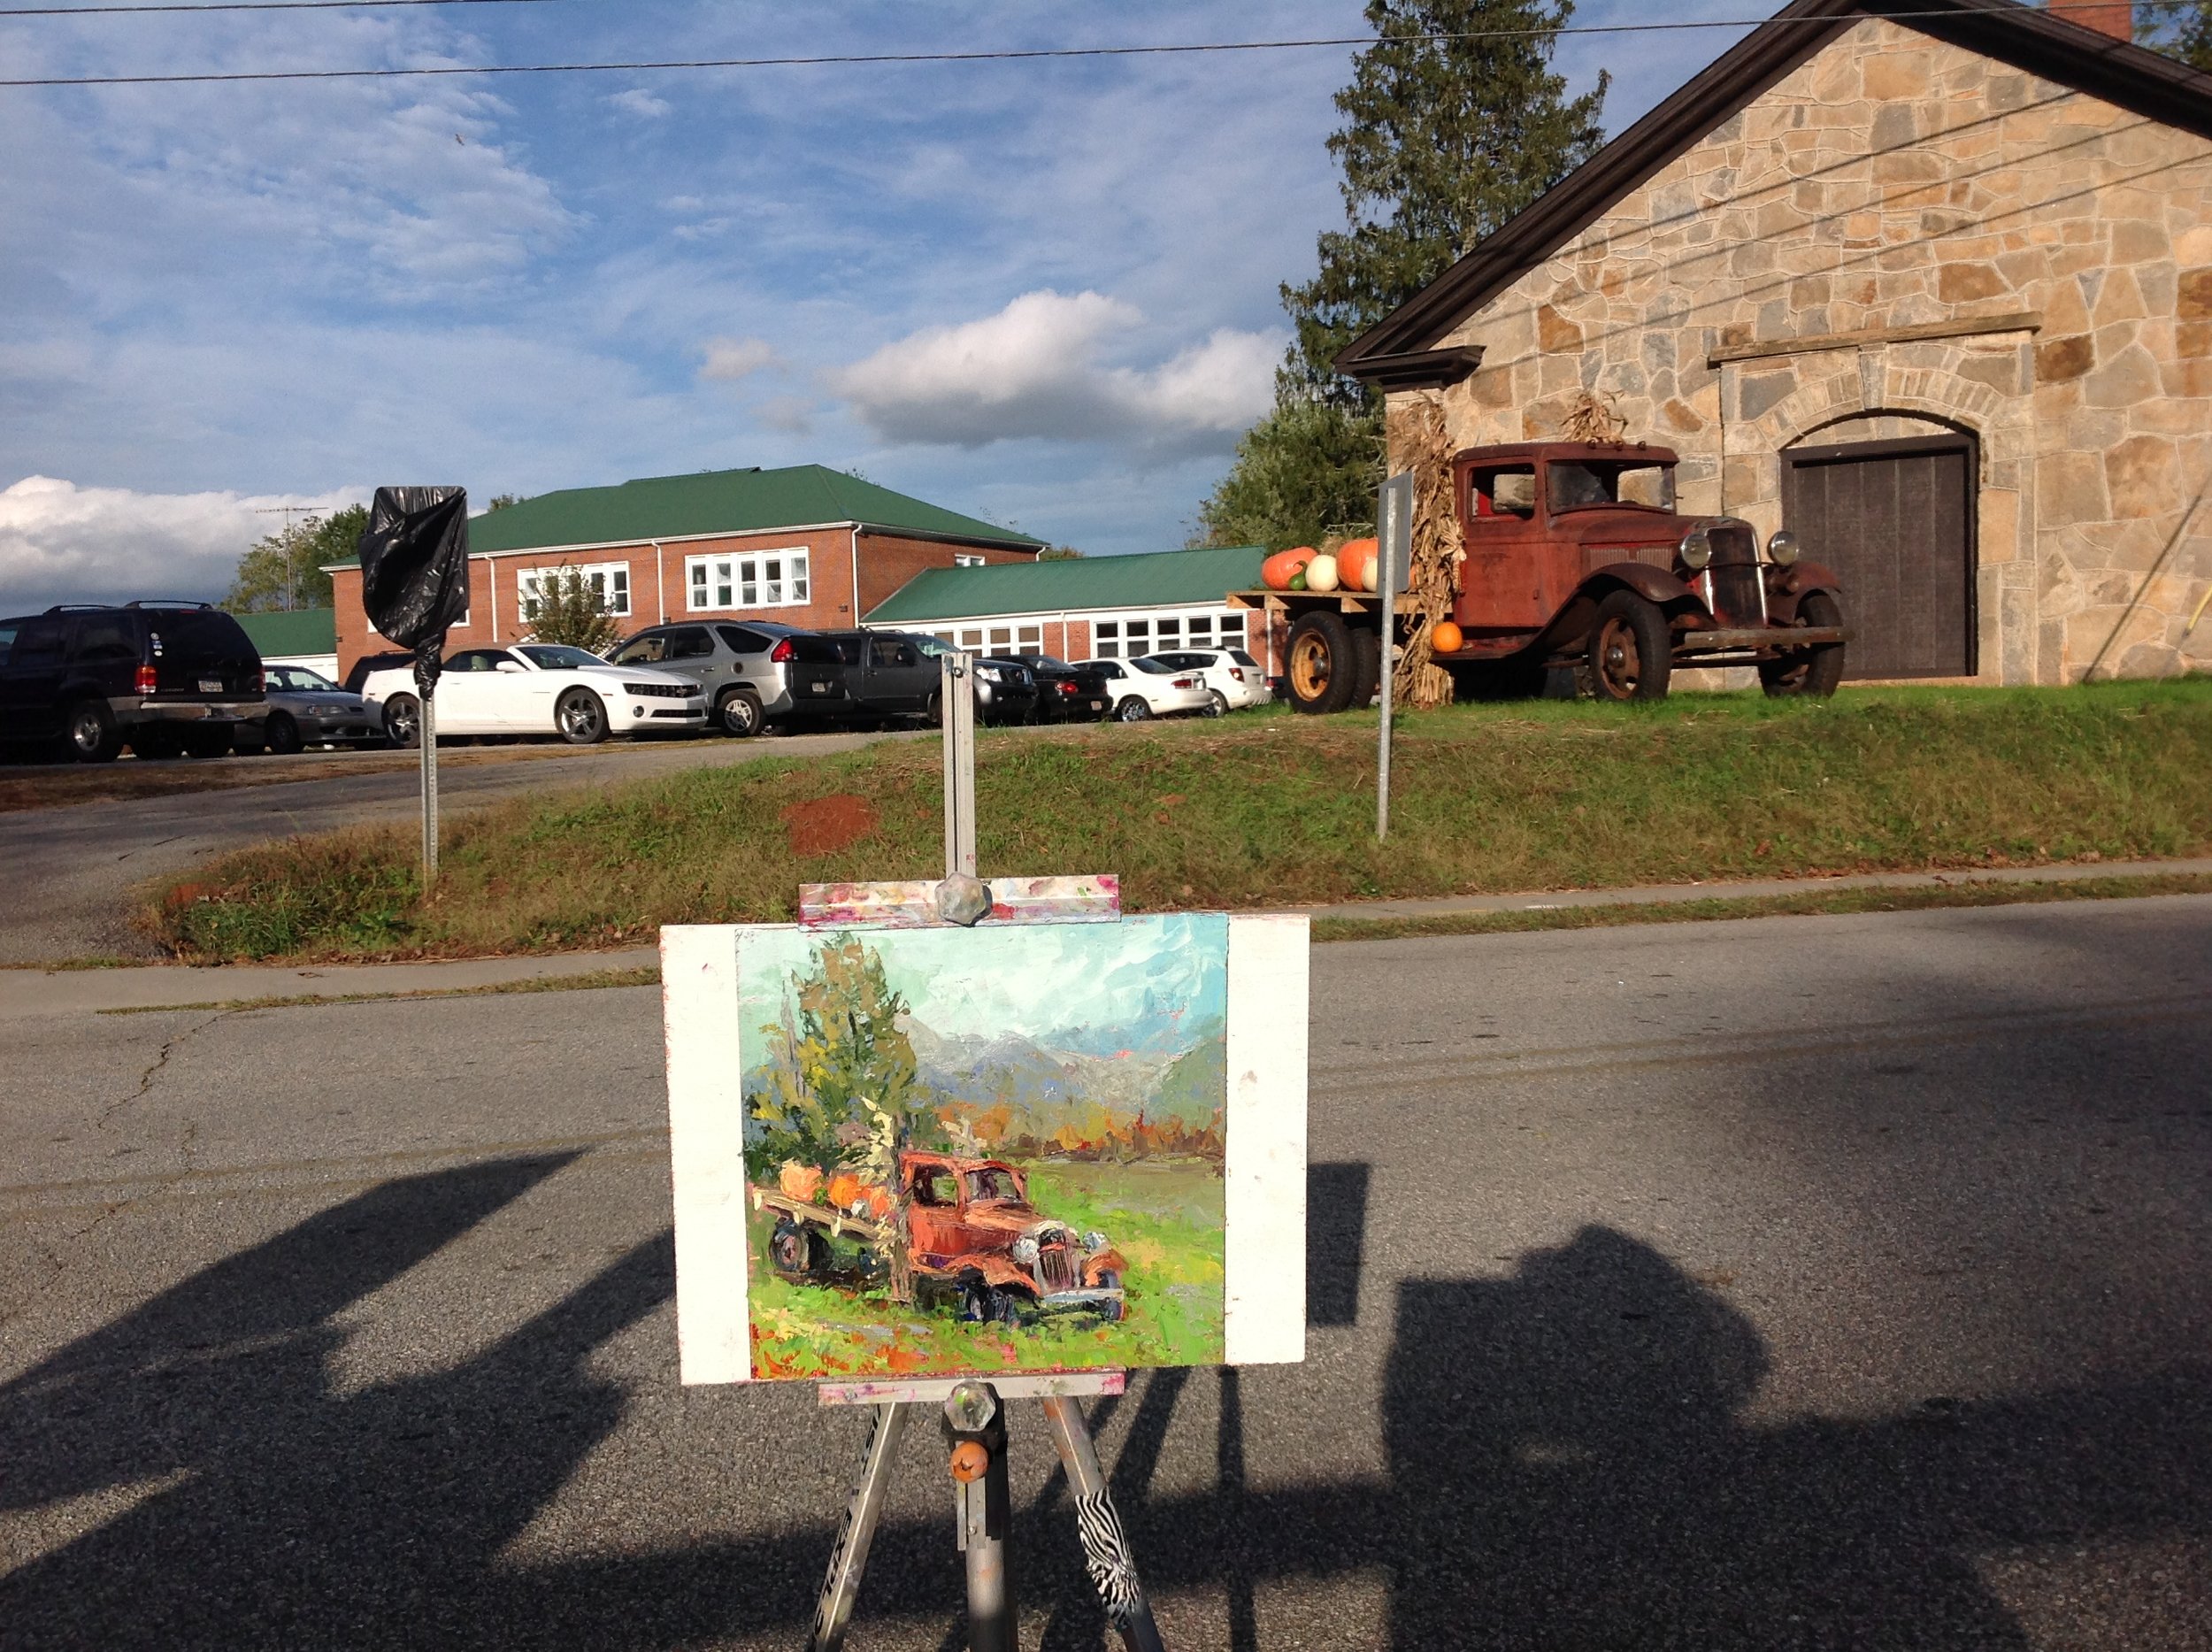
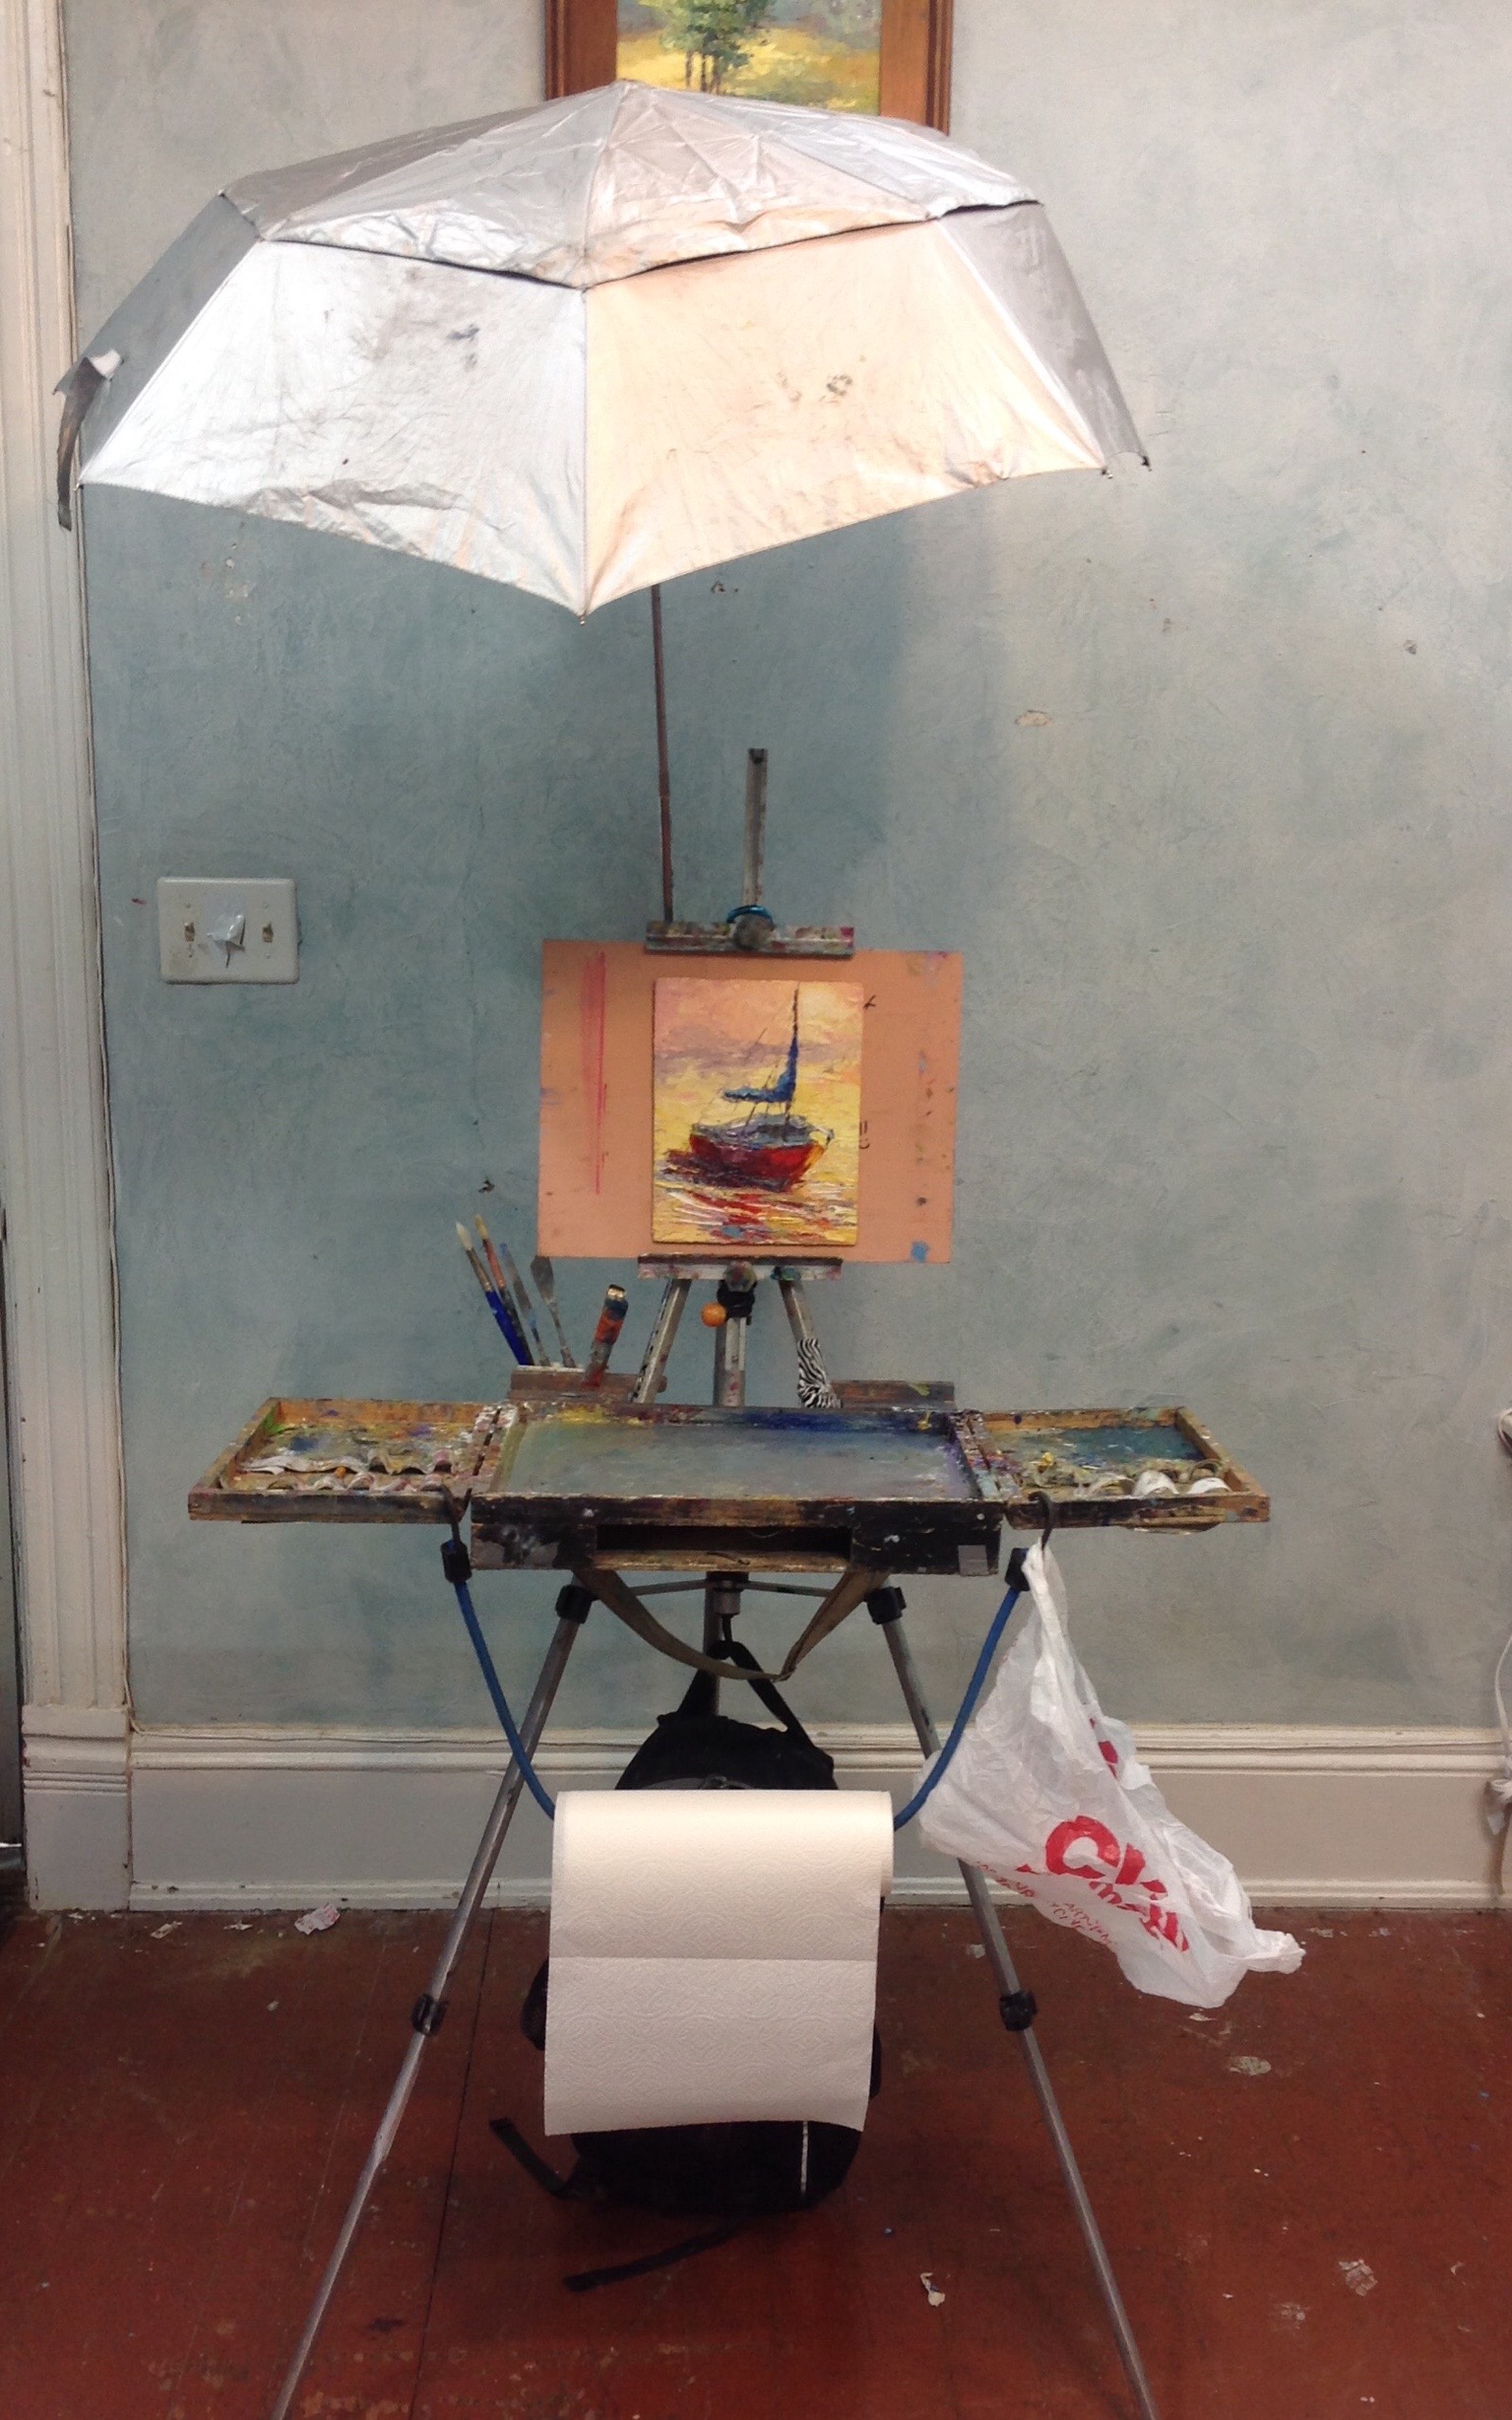
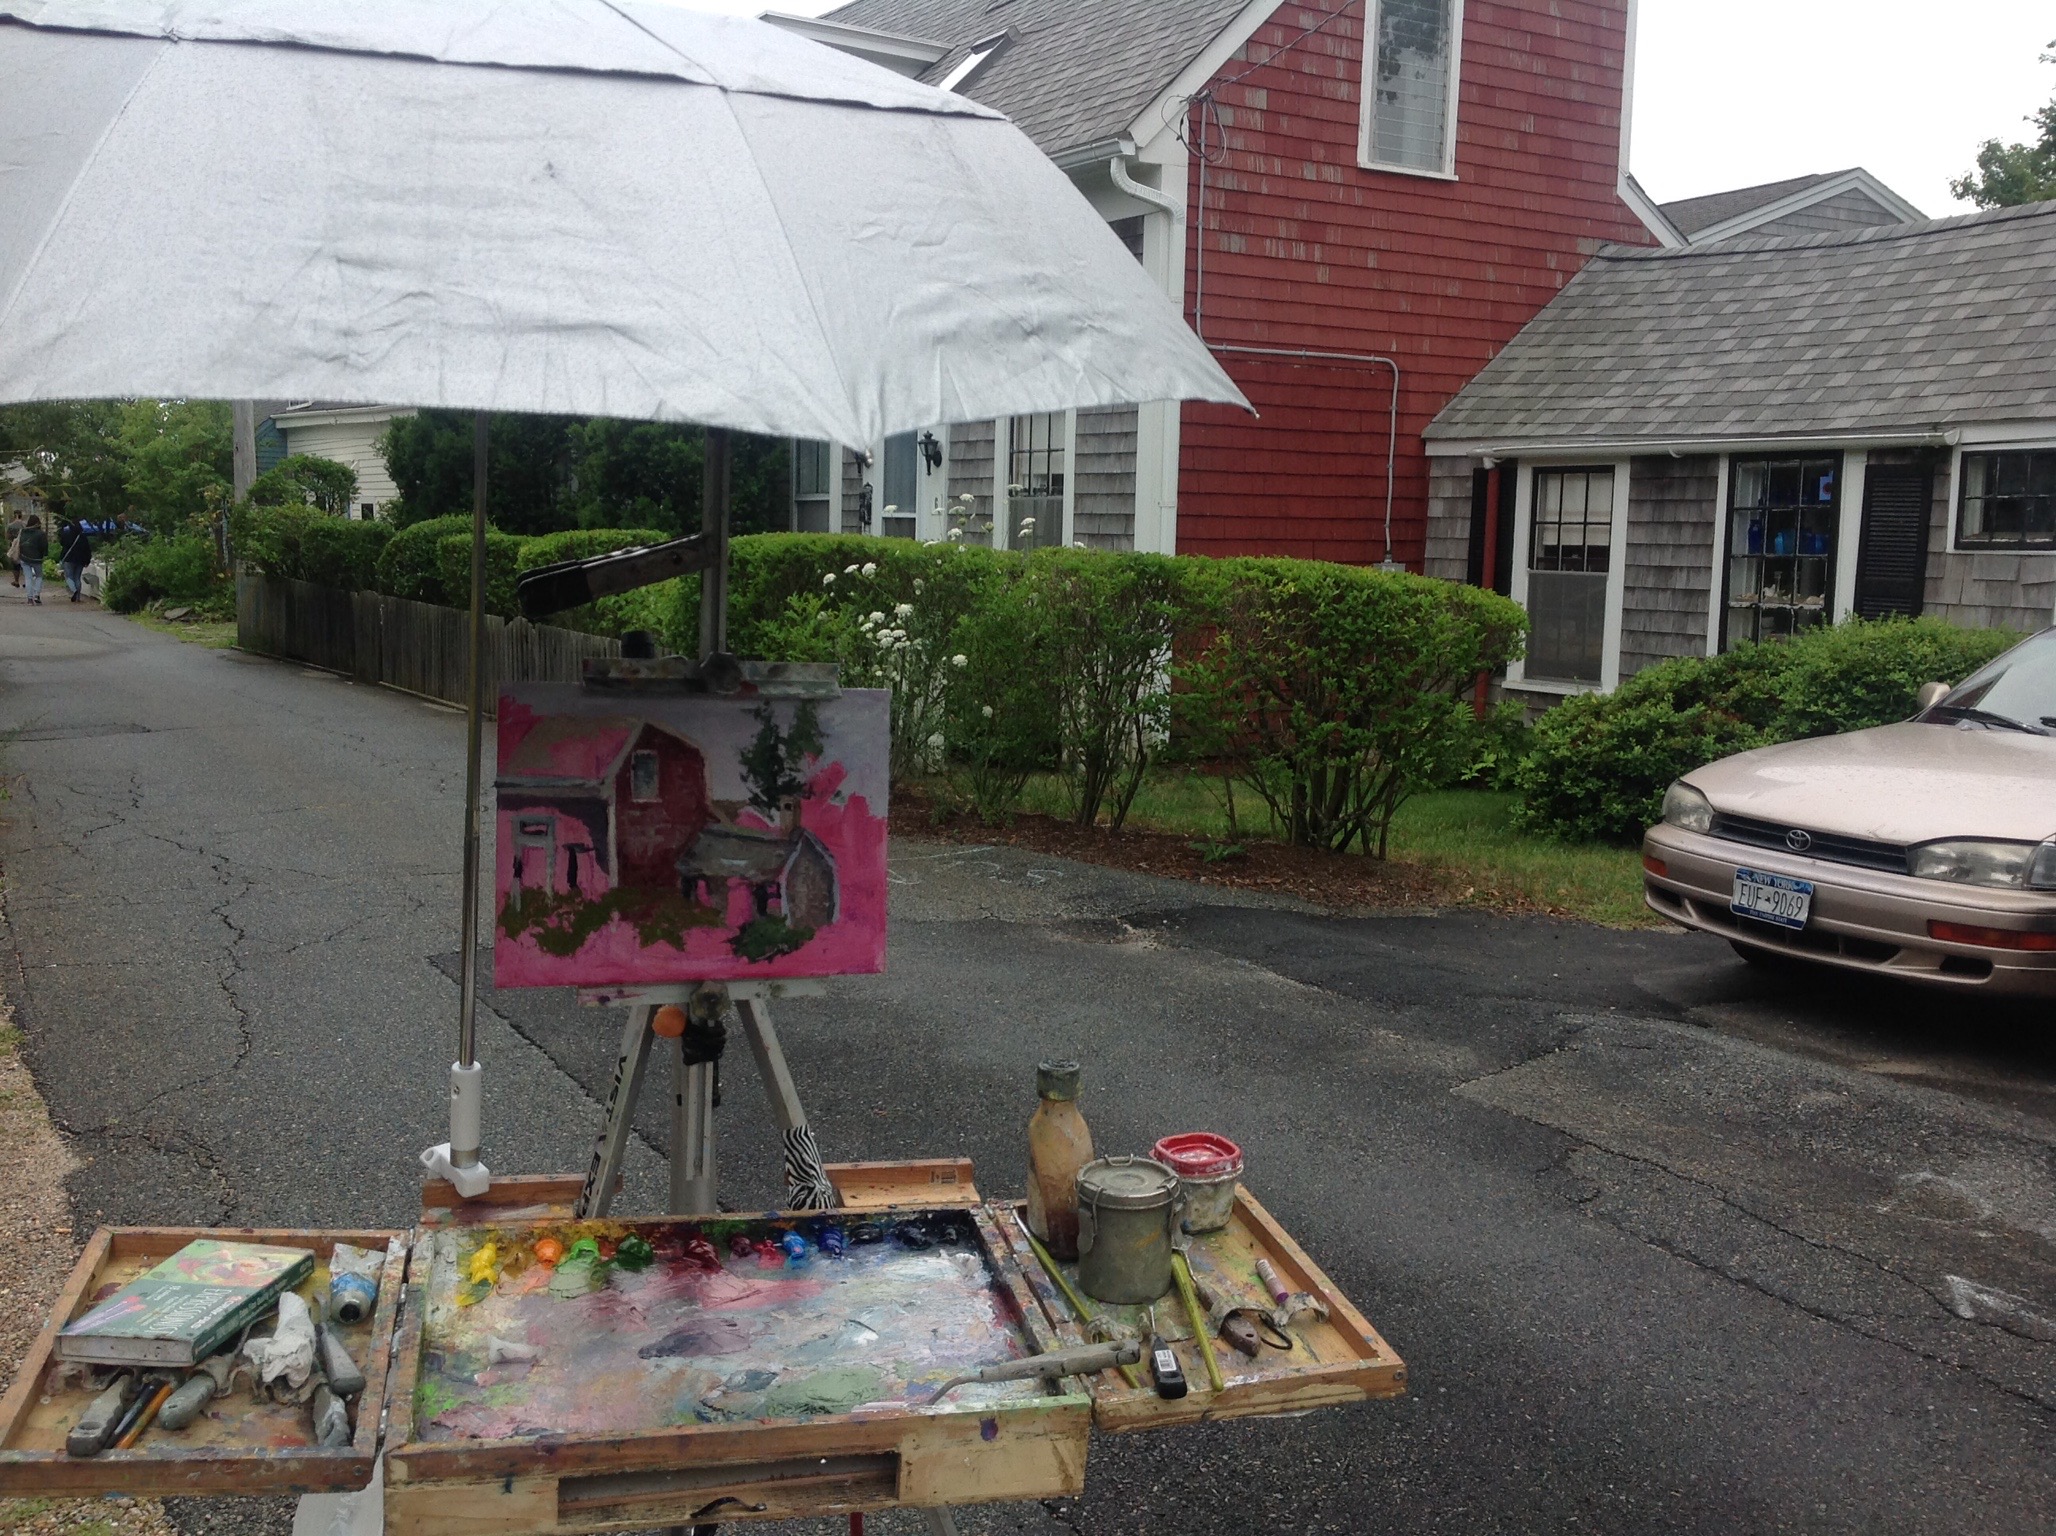
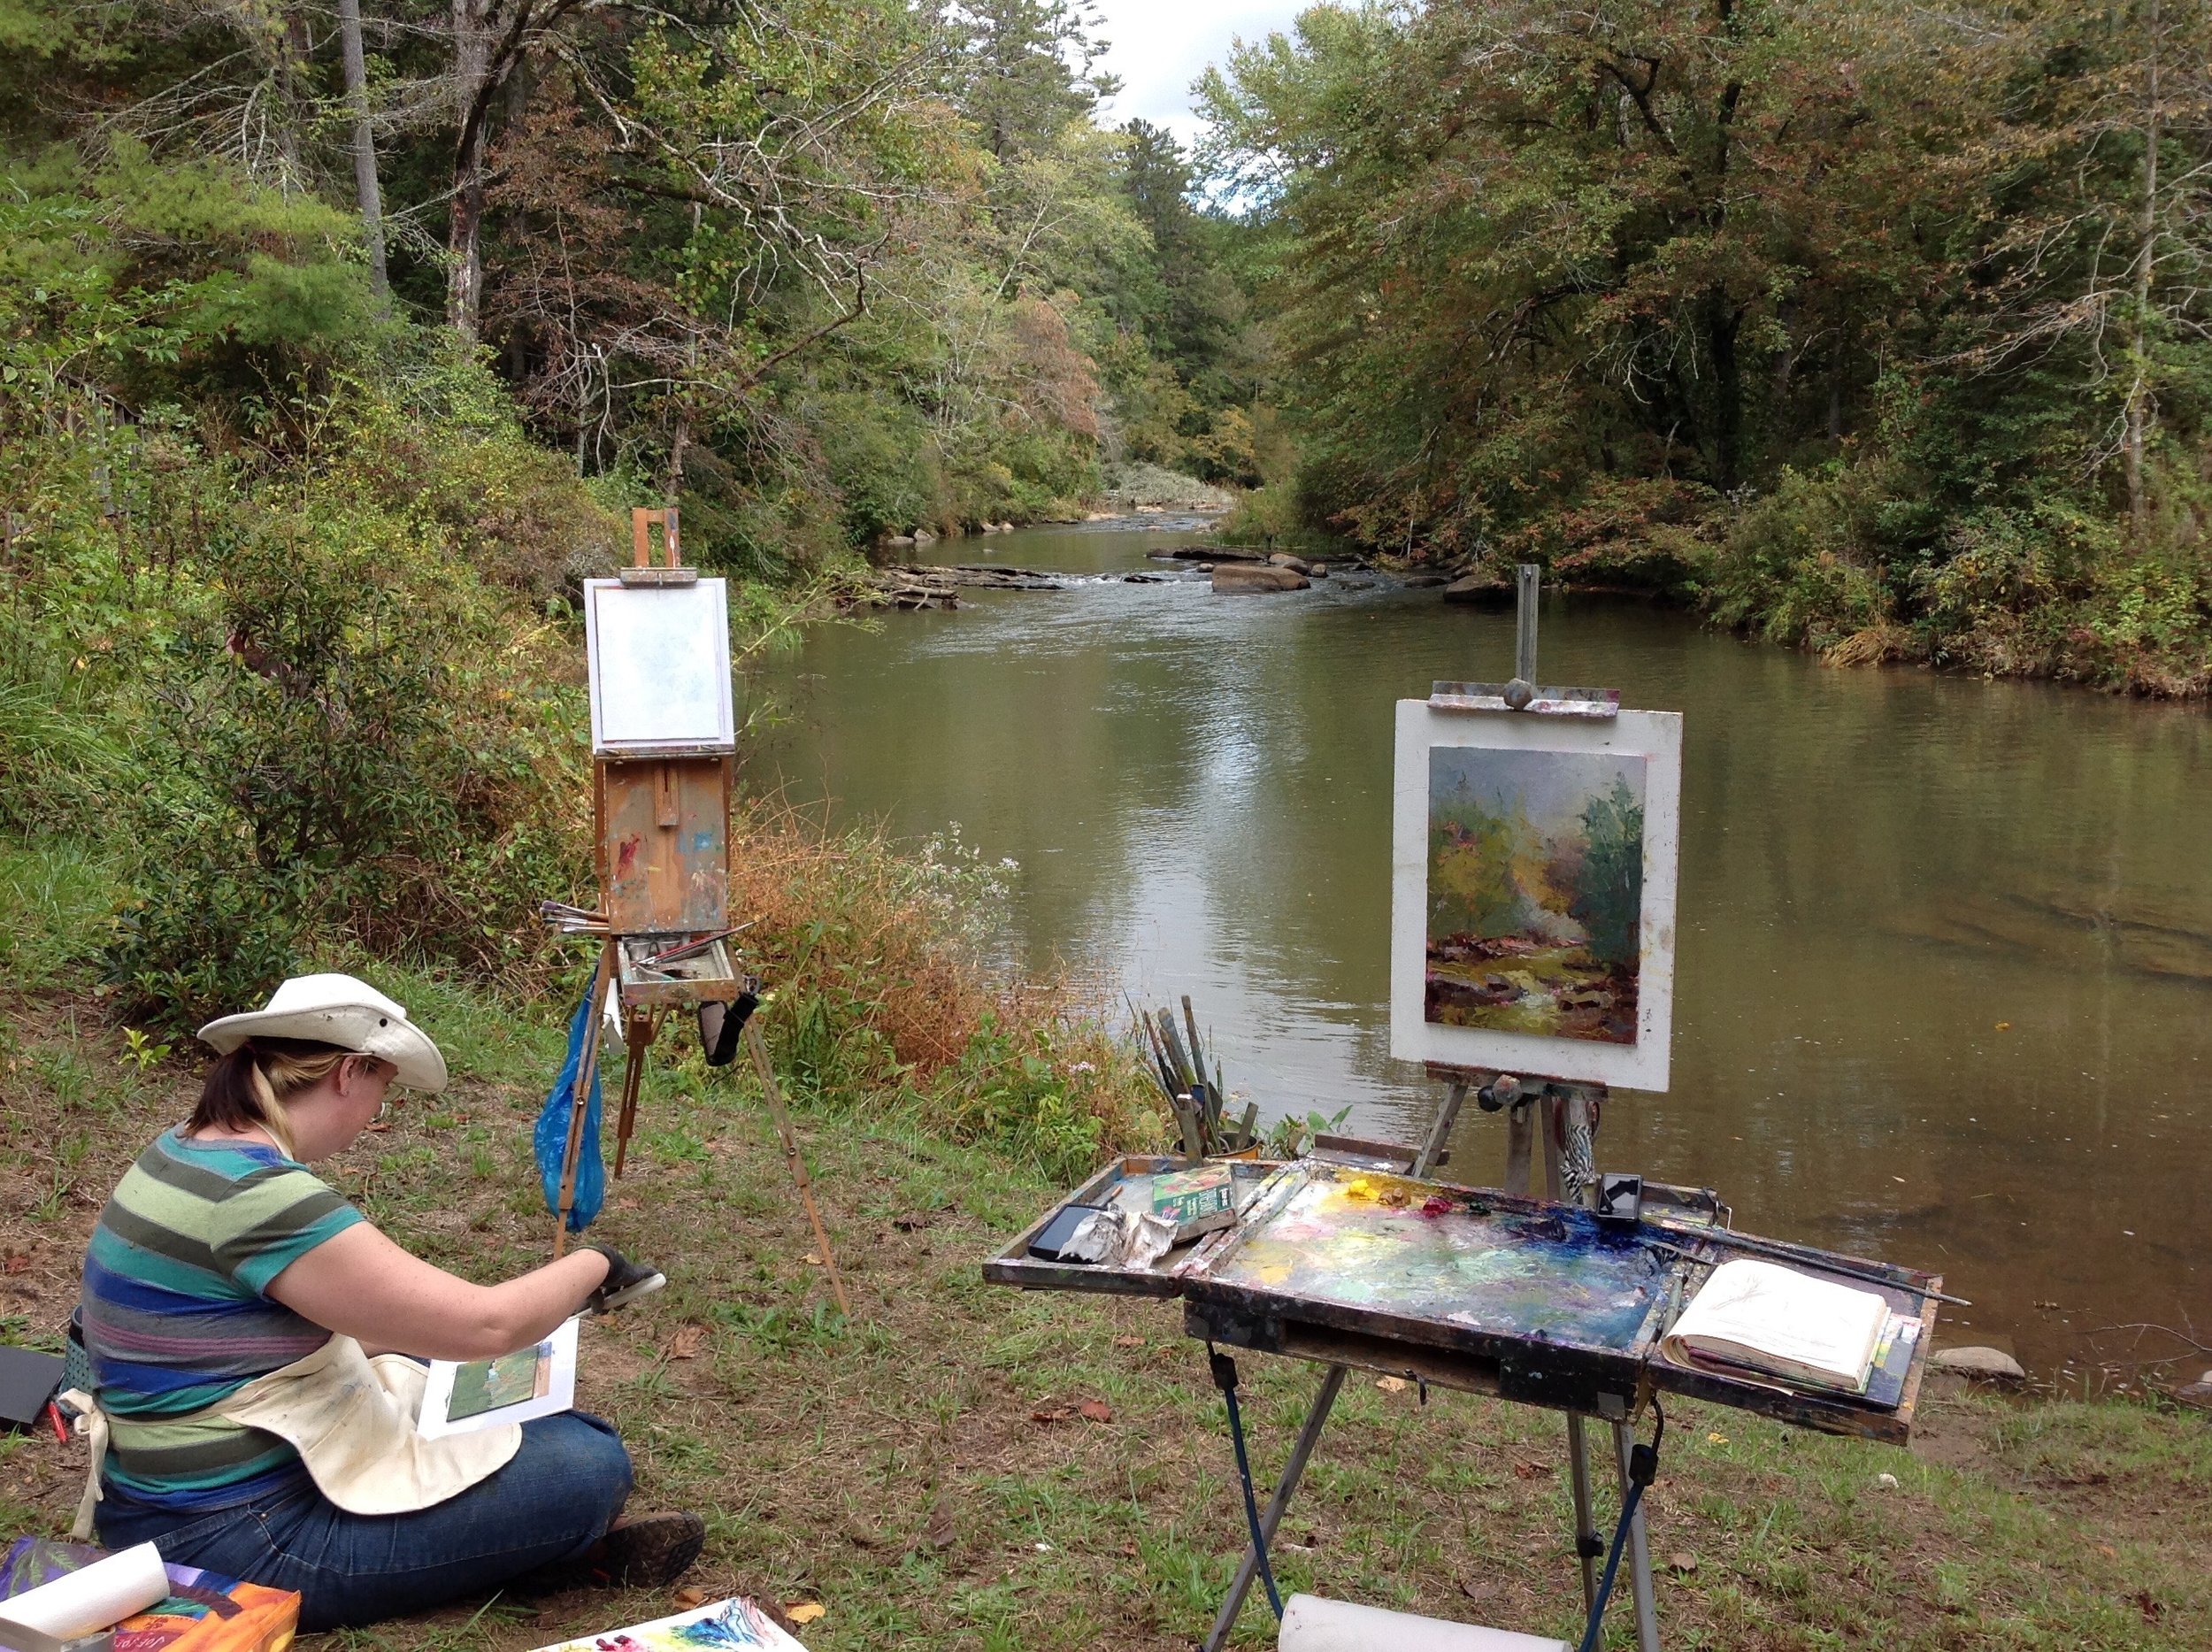
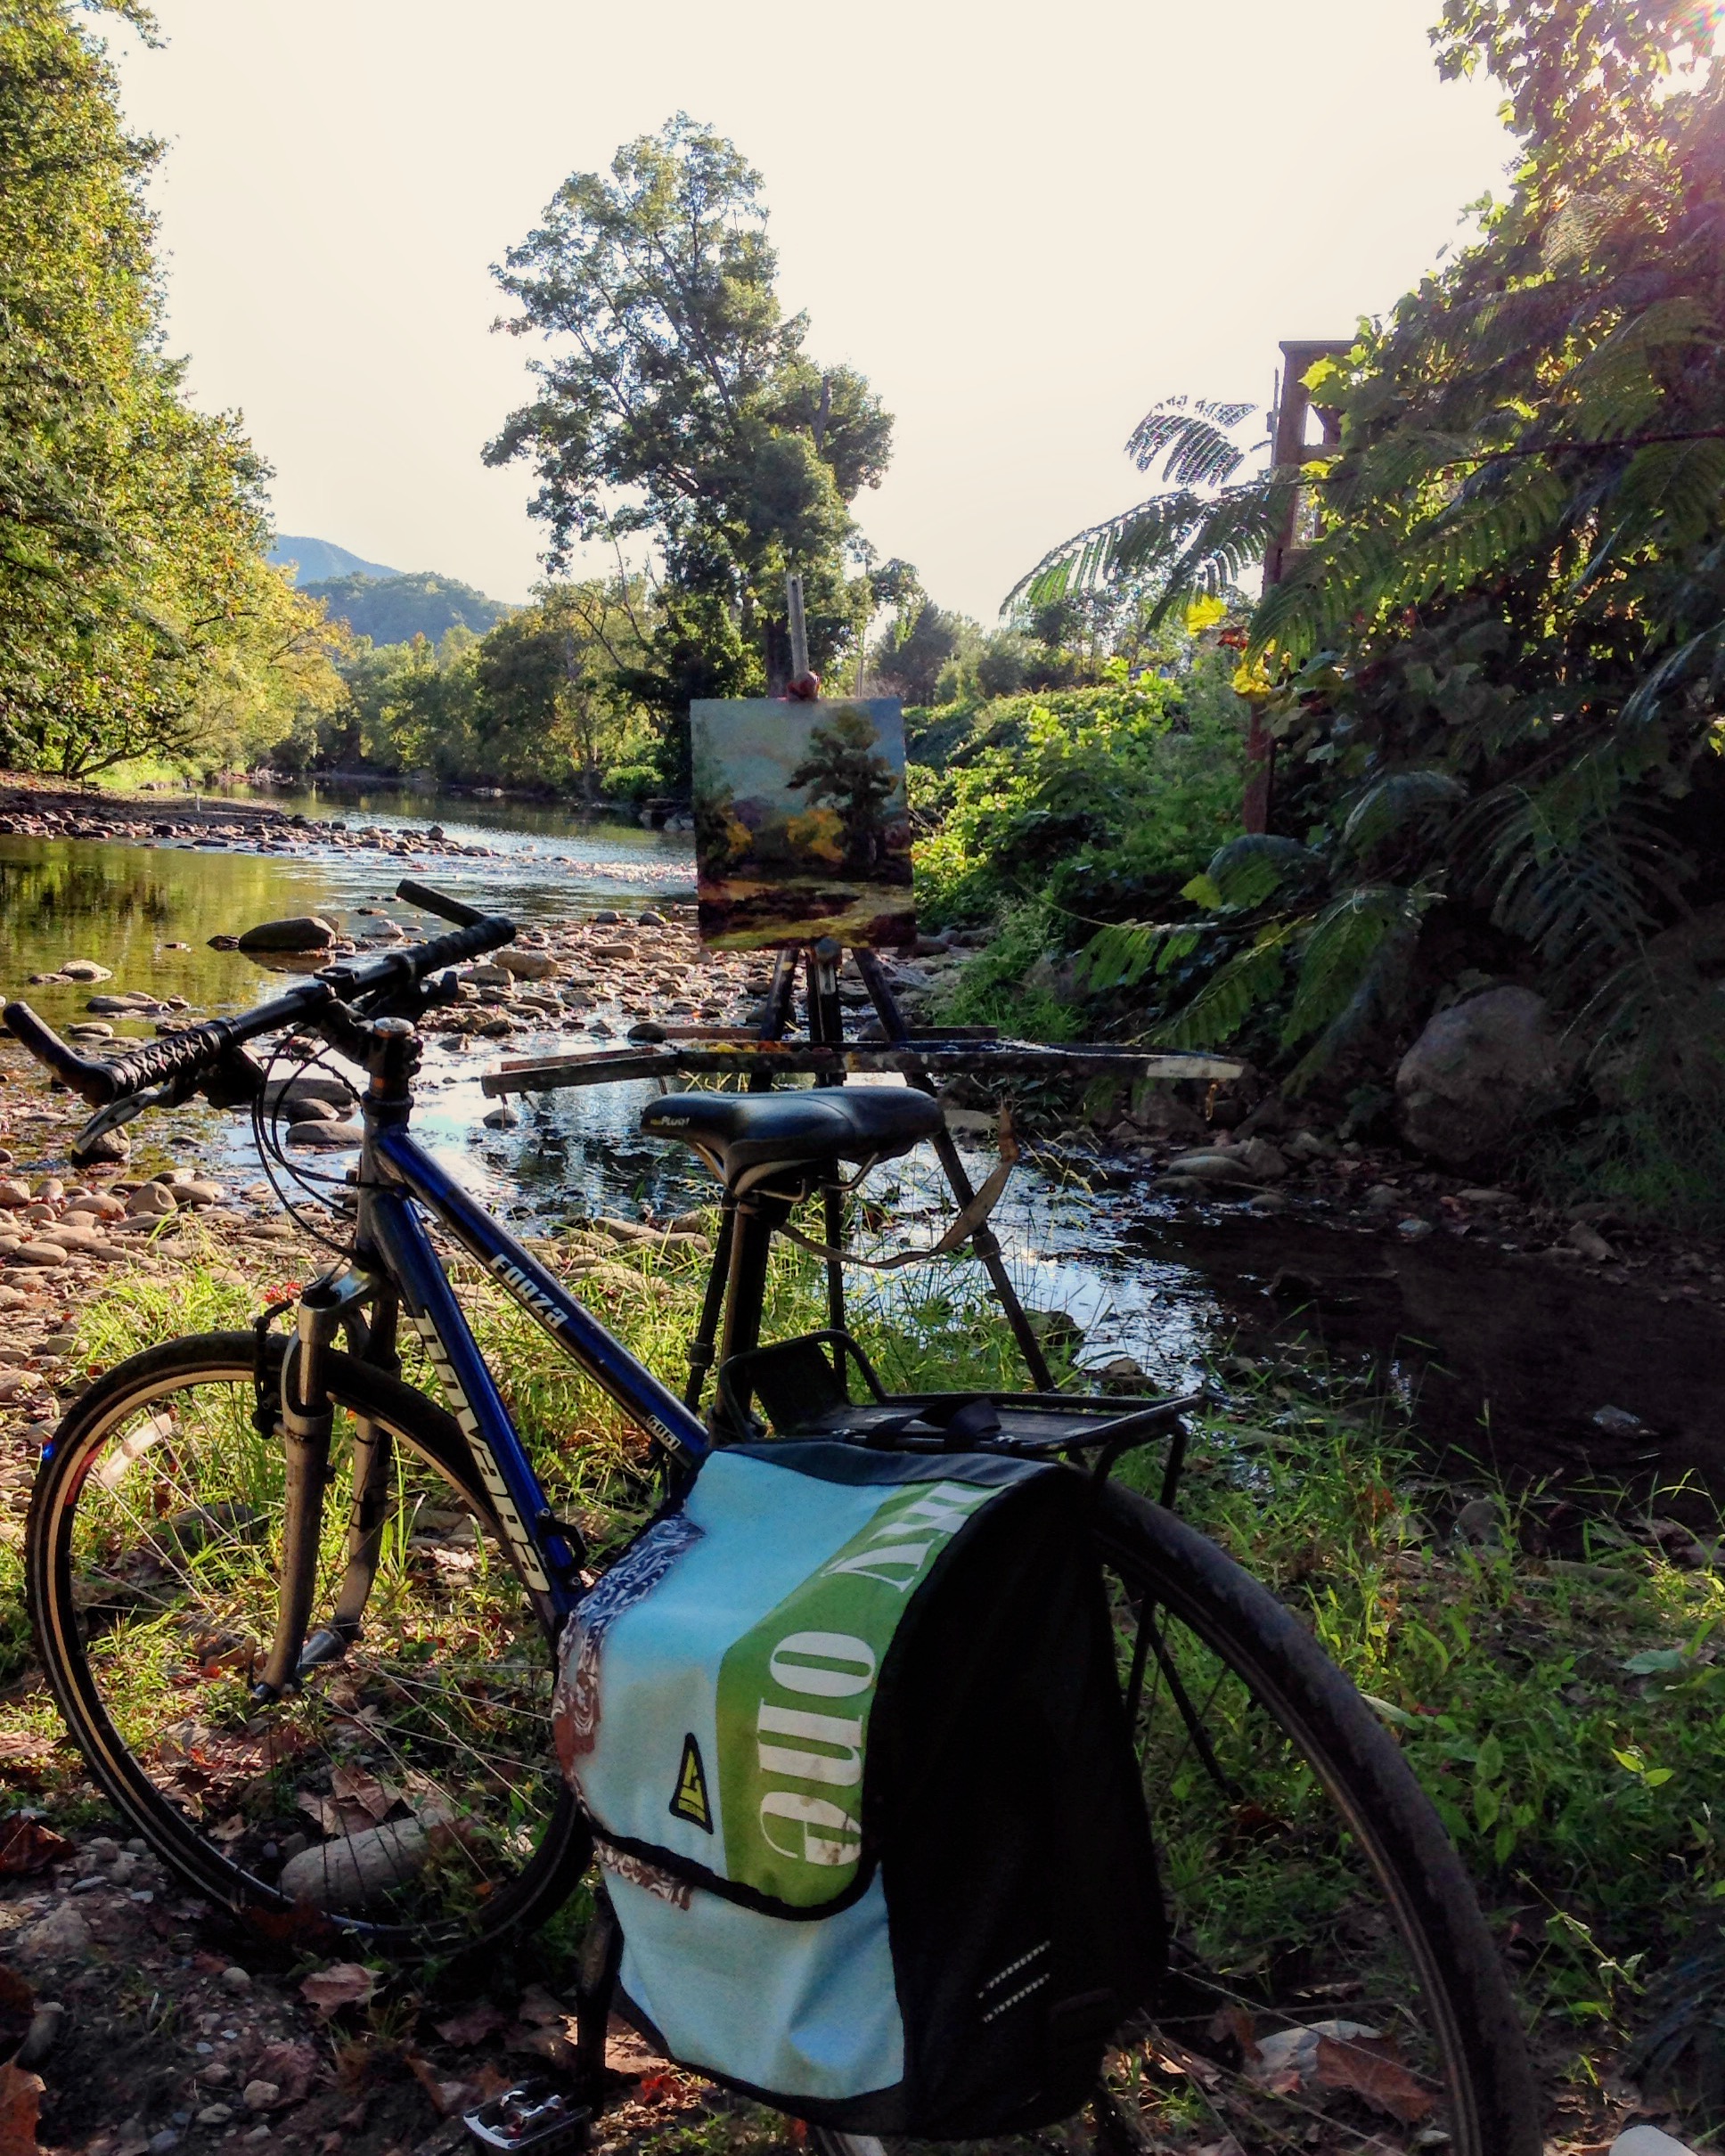
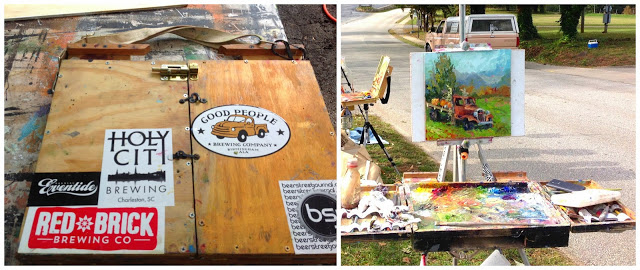
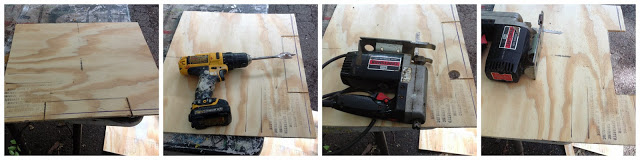
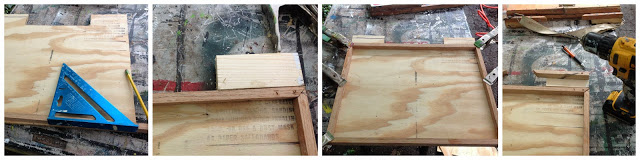
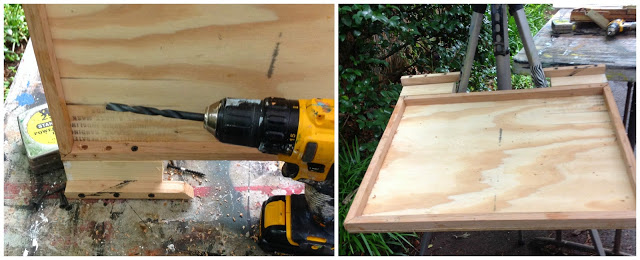
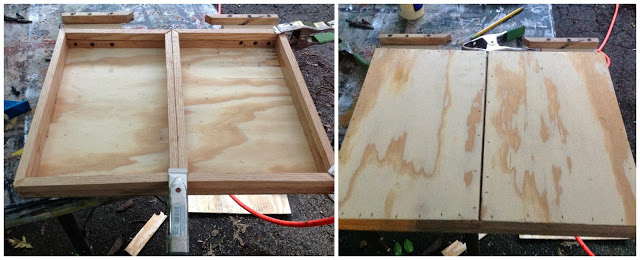
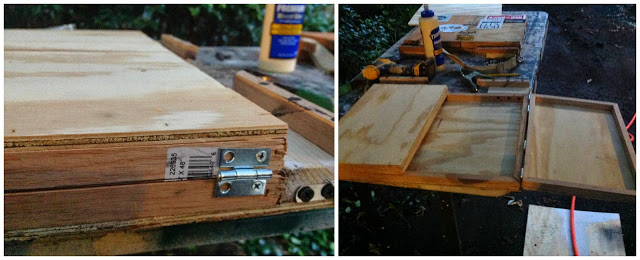
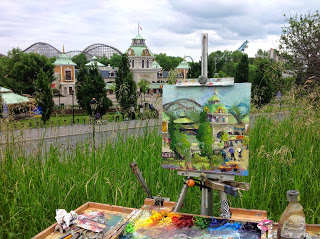
Easel - 1/2 French easel or anything easy to carry and stable outdoor. I use a tripod with a paint box. There are many options with a range of prices. See links below.
Palette - Wooden palette that you can clip to your easel or disposable. I use a 12 x 16 that fits in my wet canvas carrier
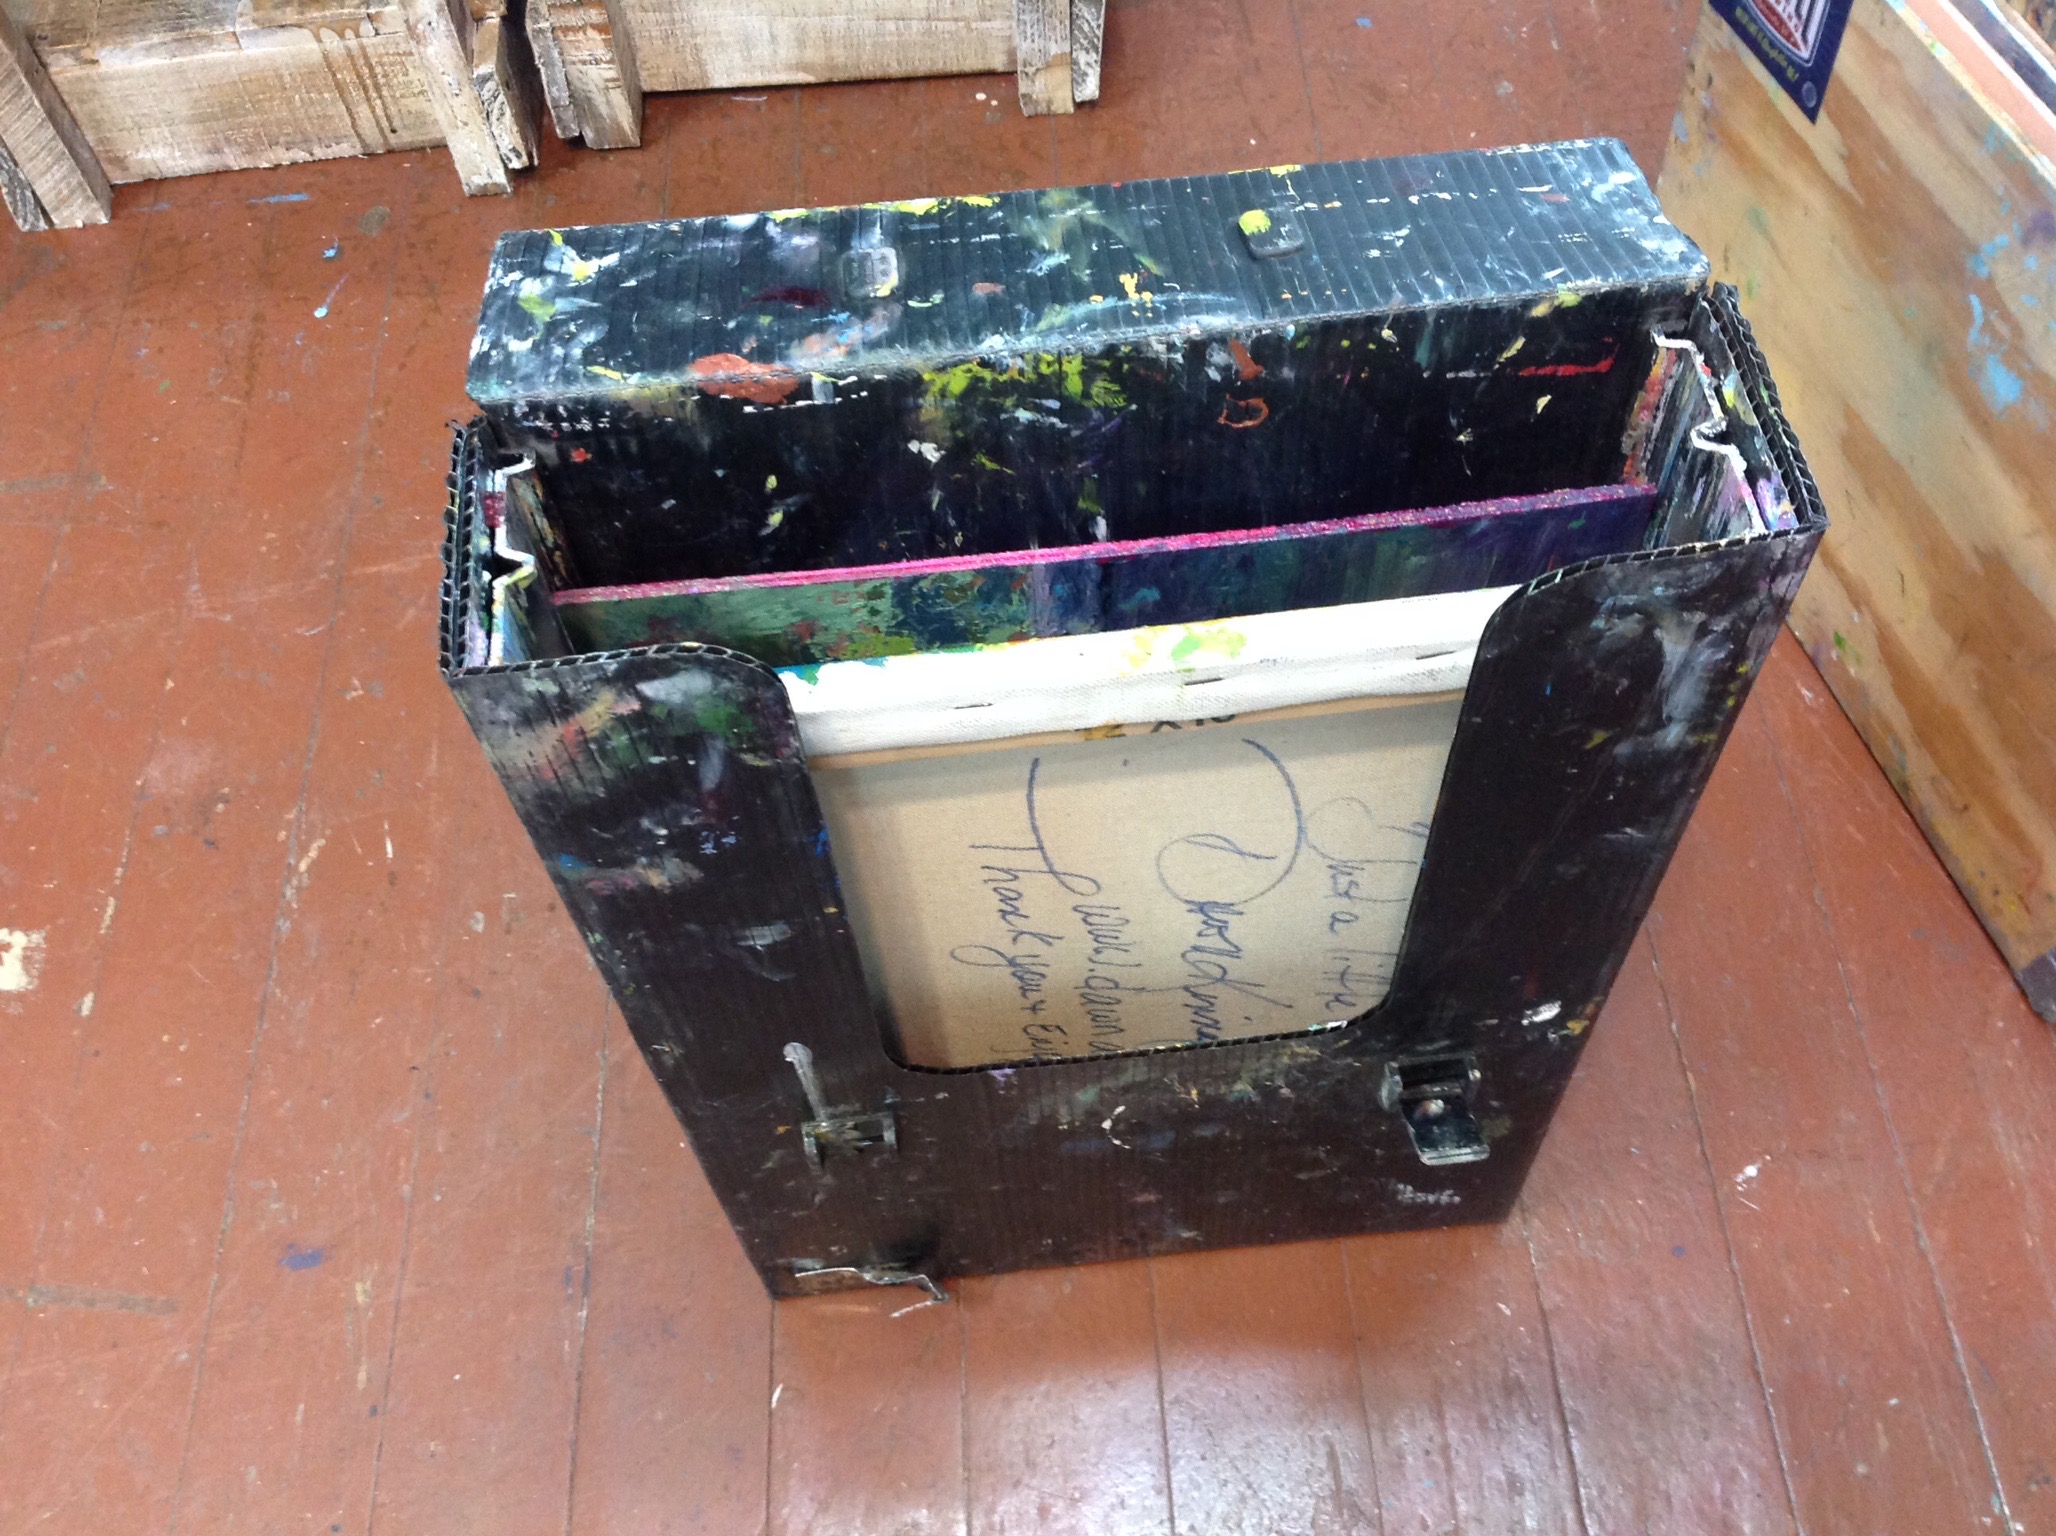
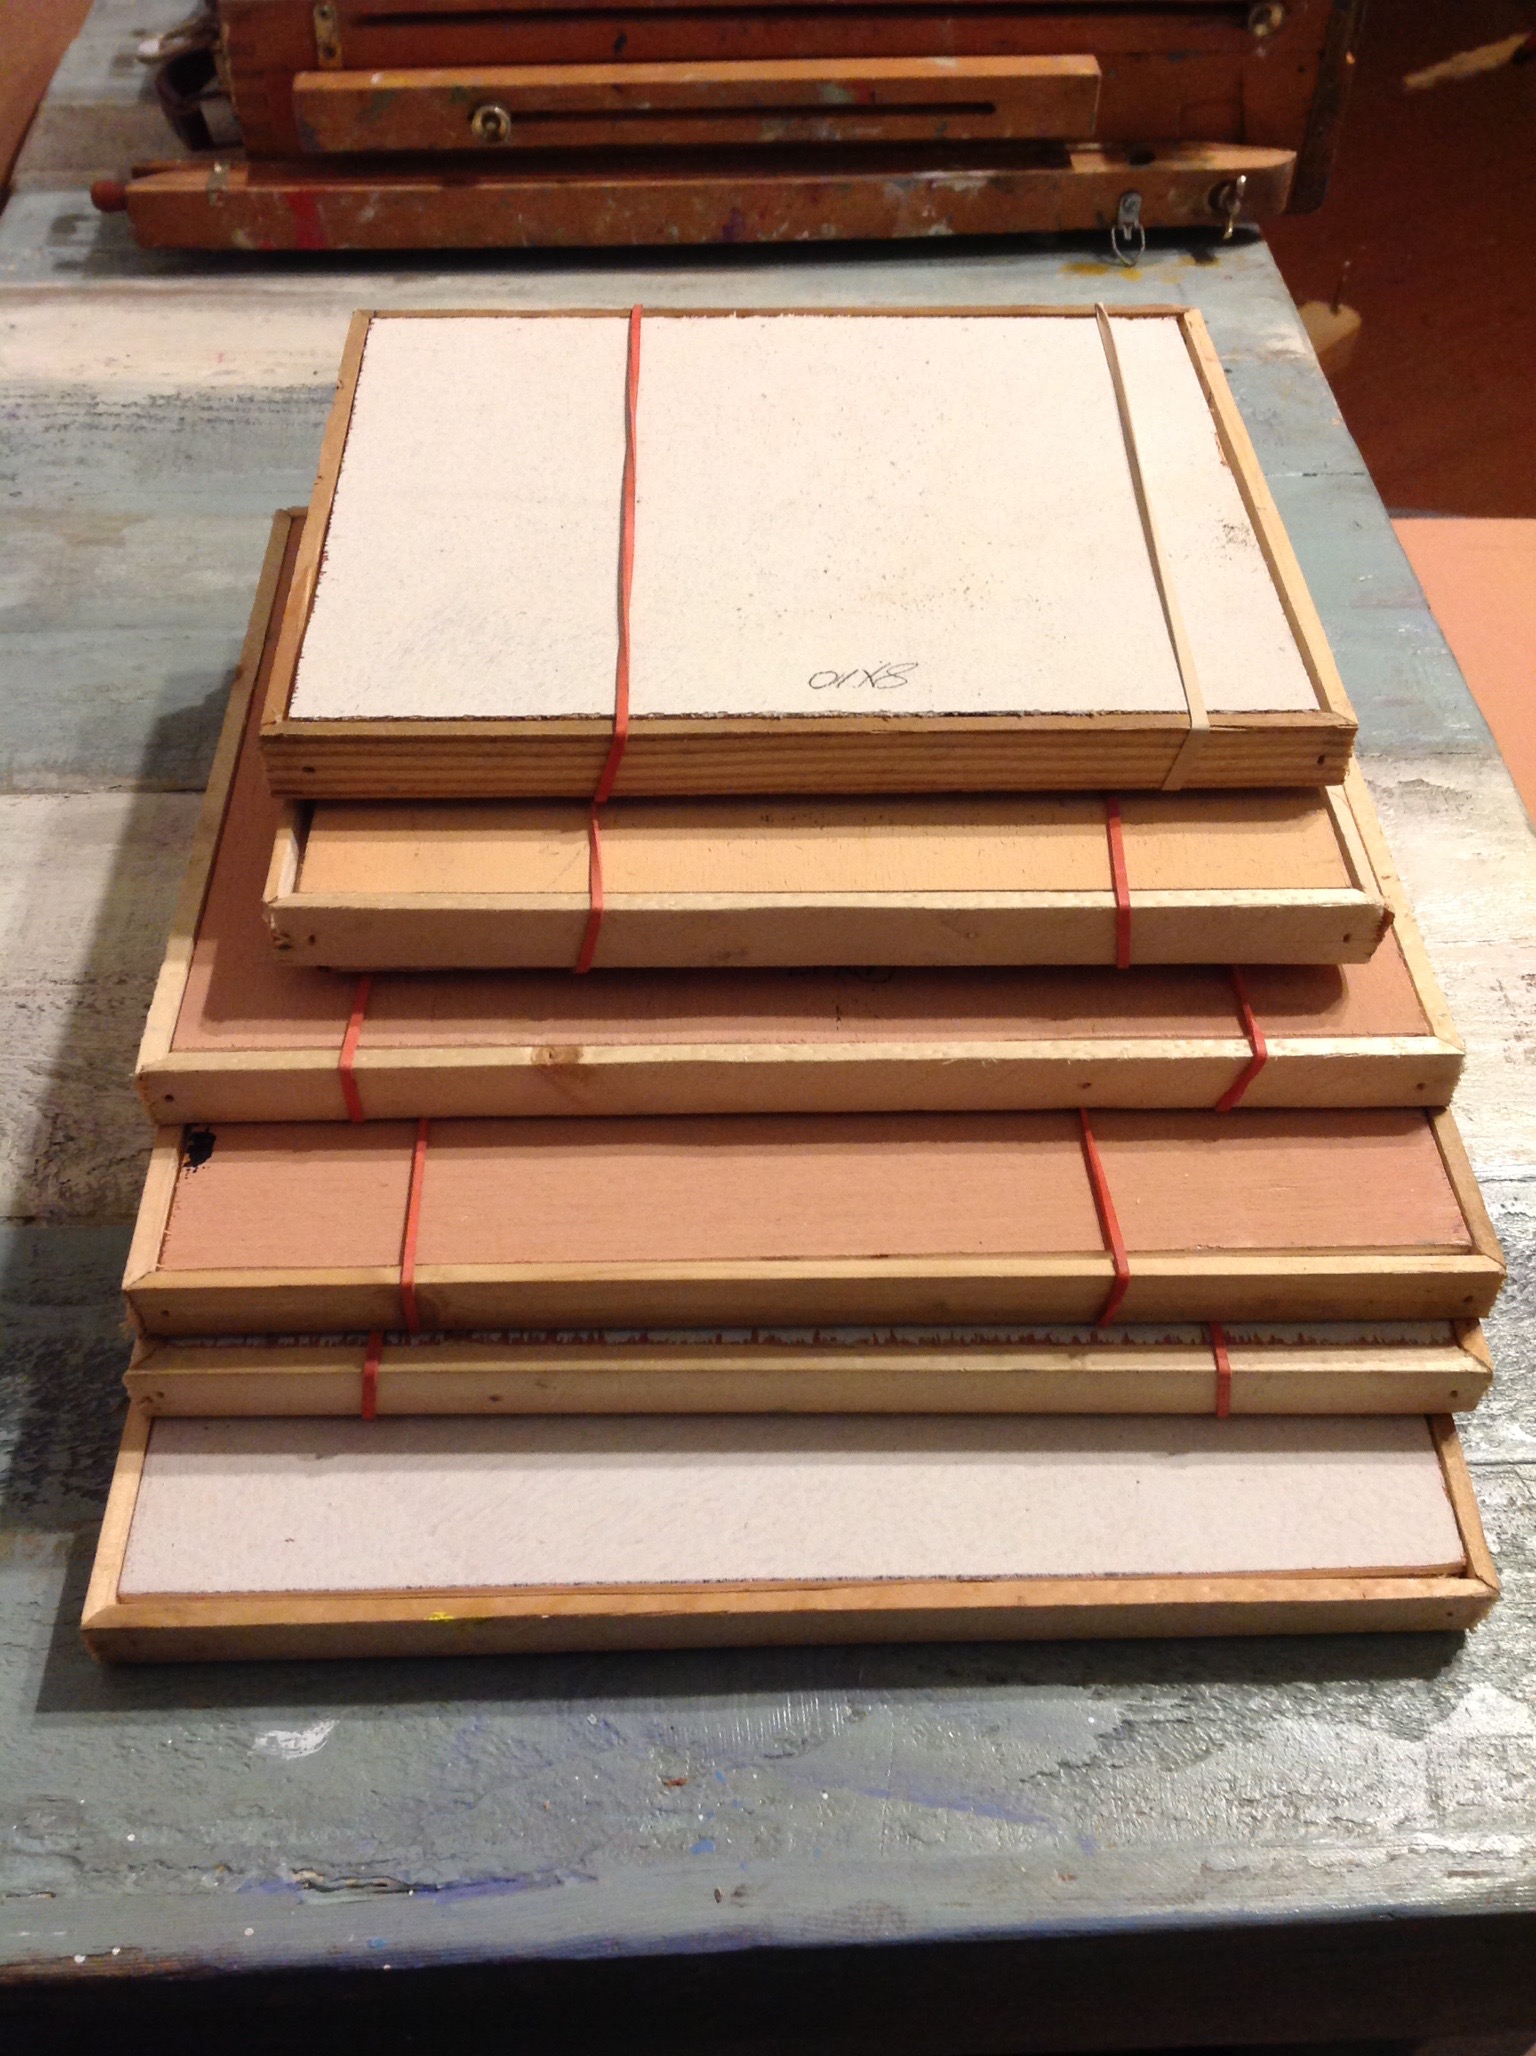
Wet canvas or panel carrier
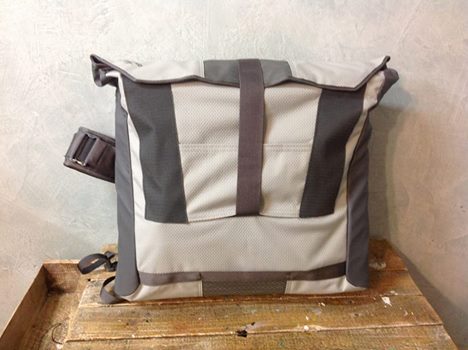
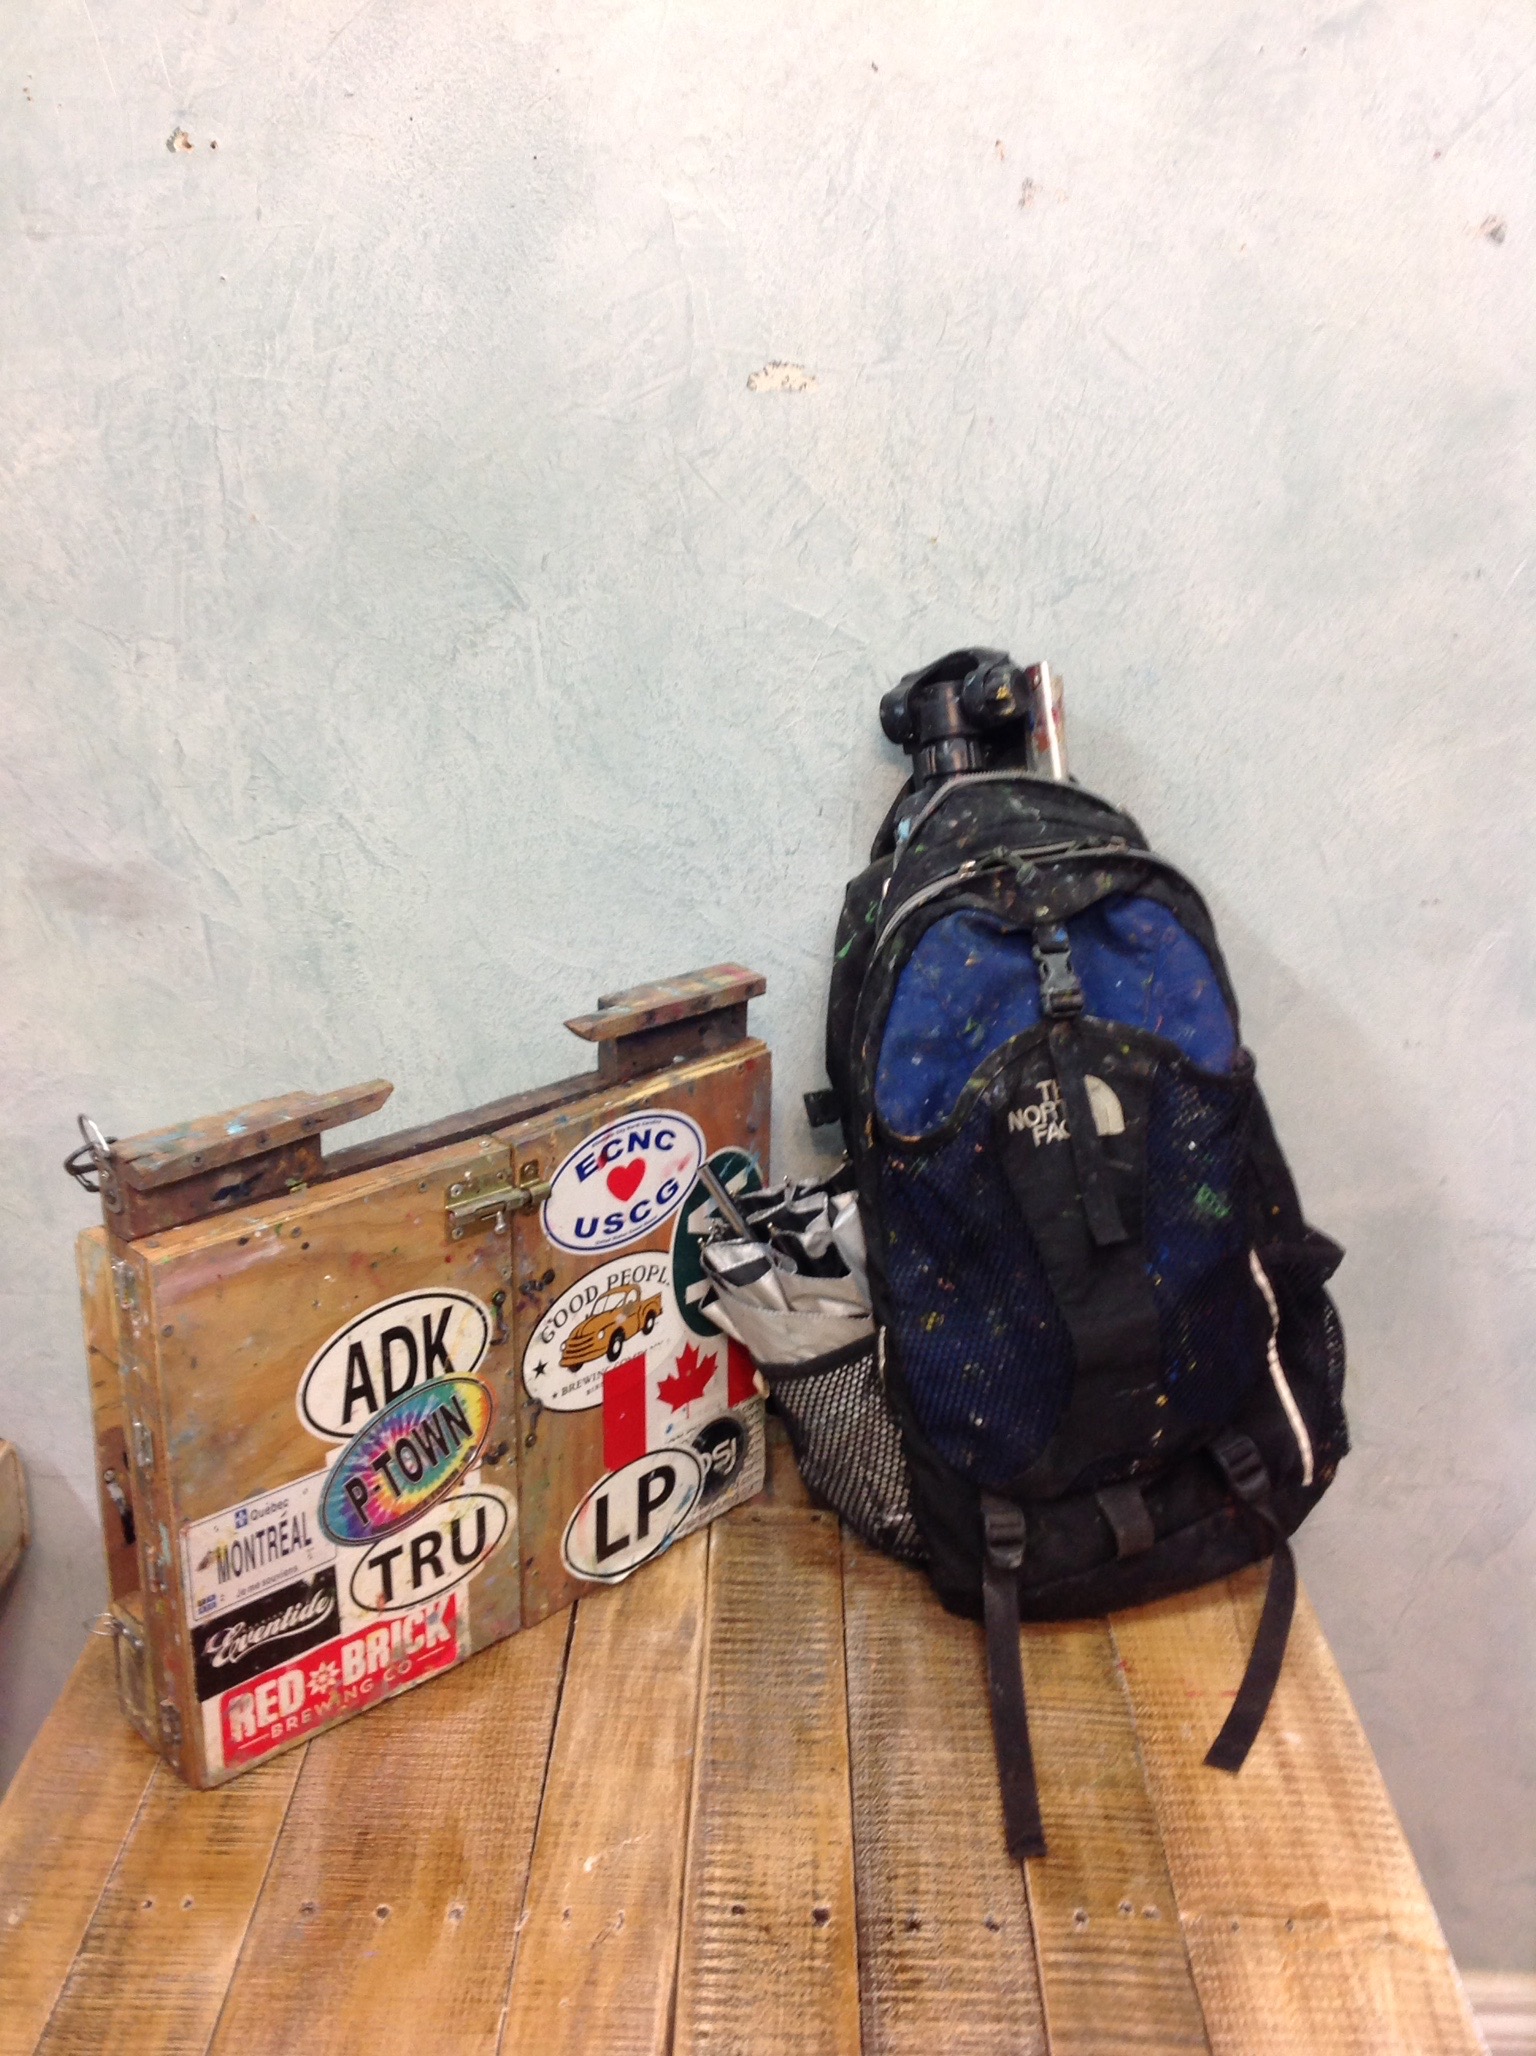
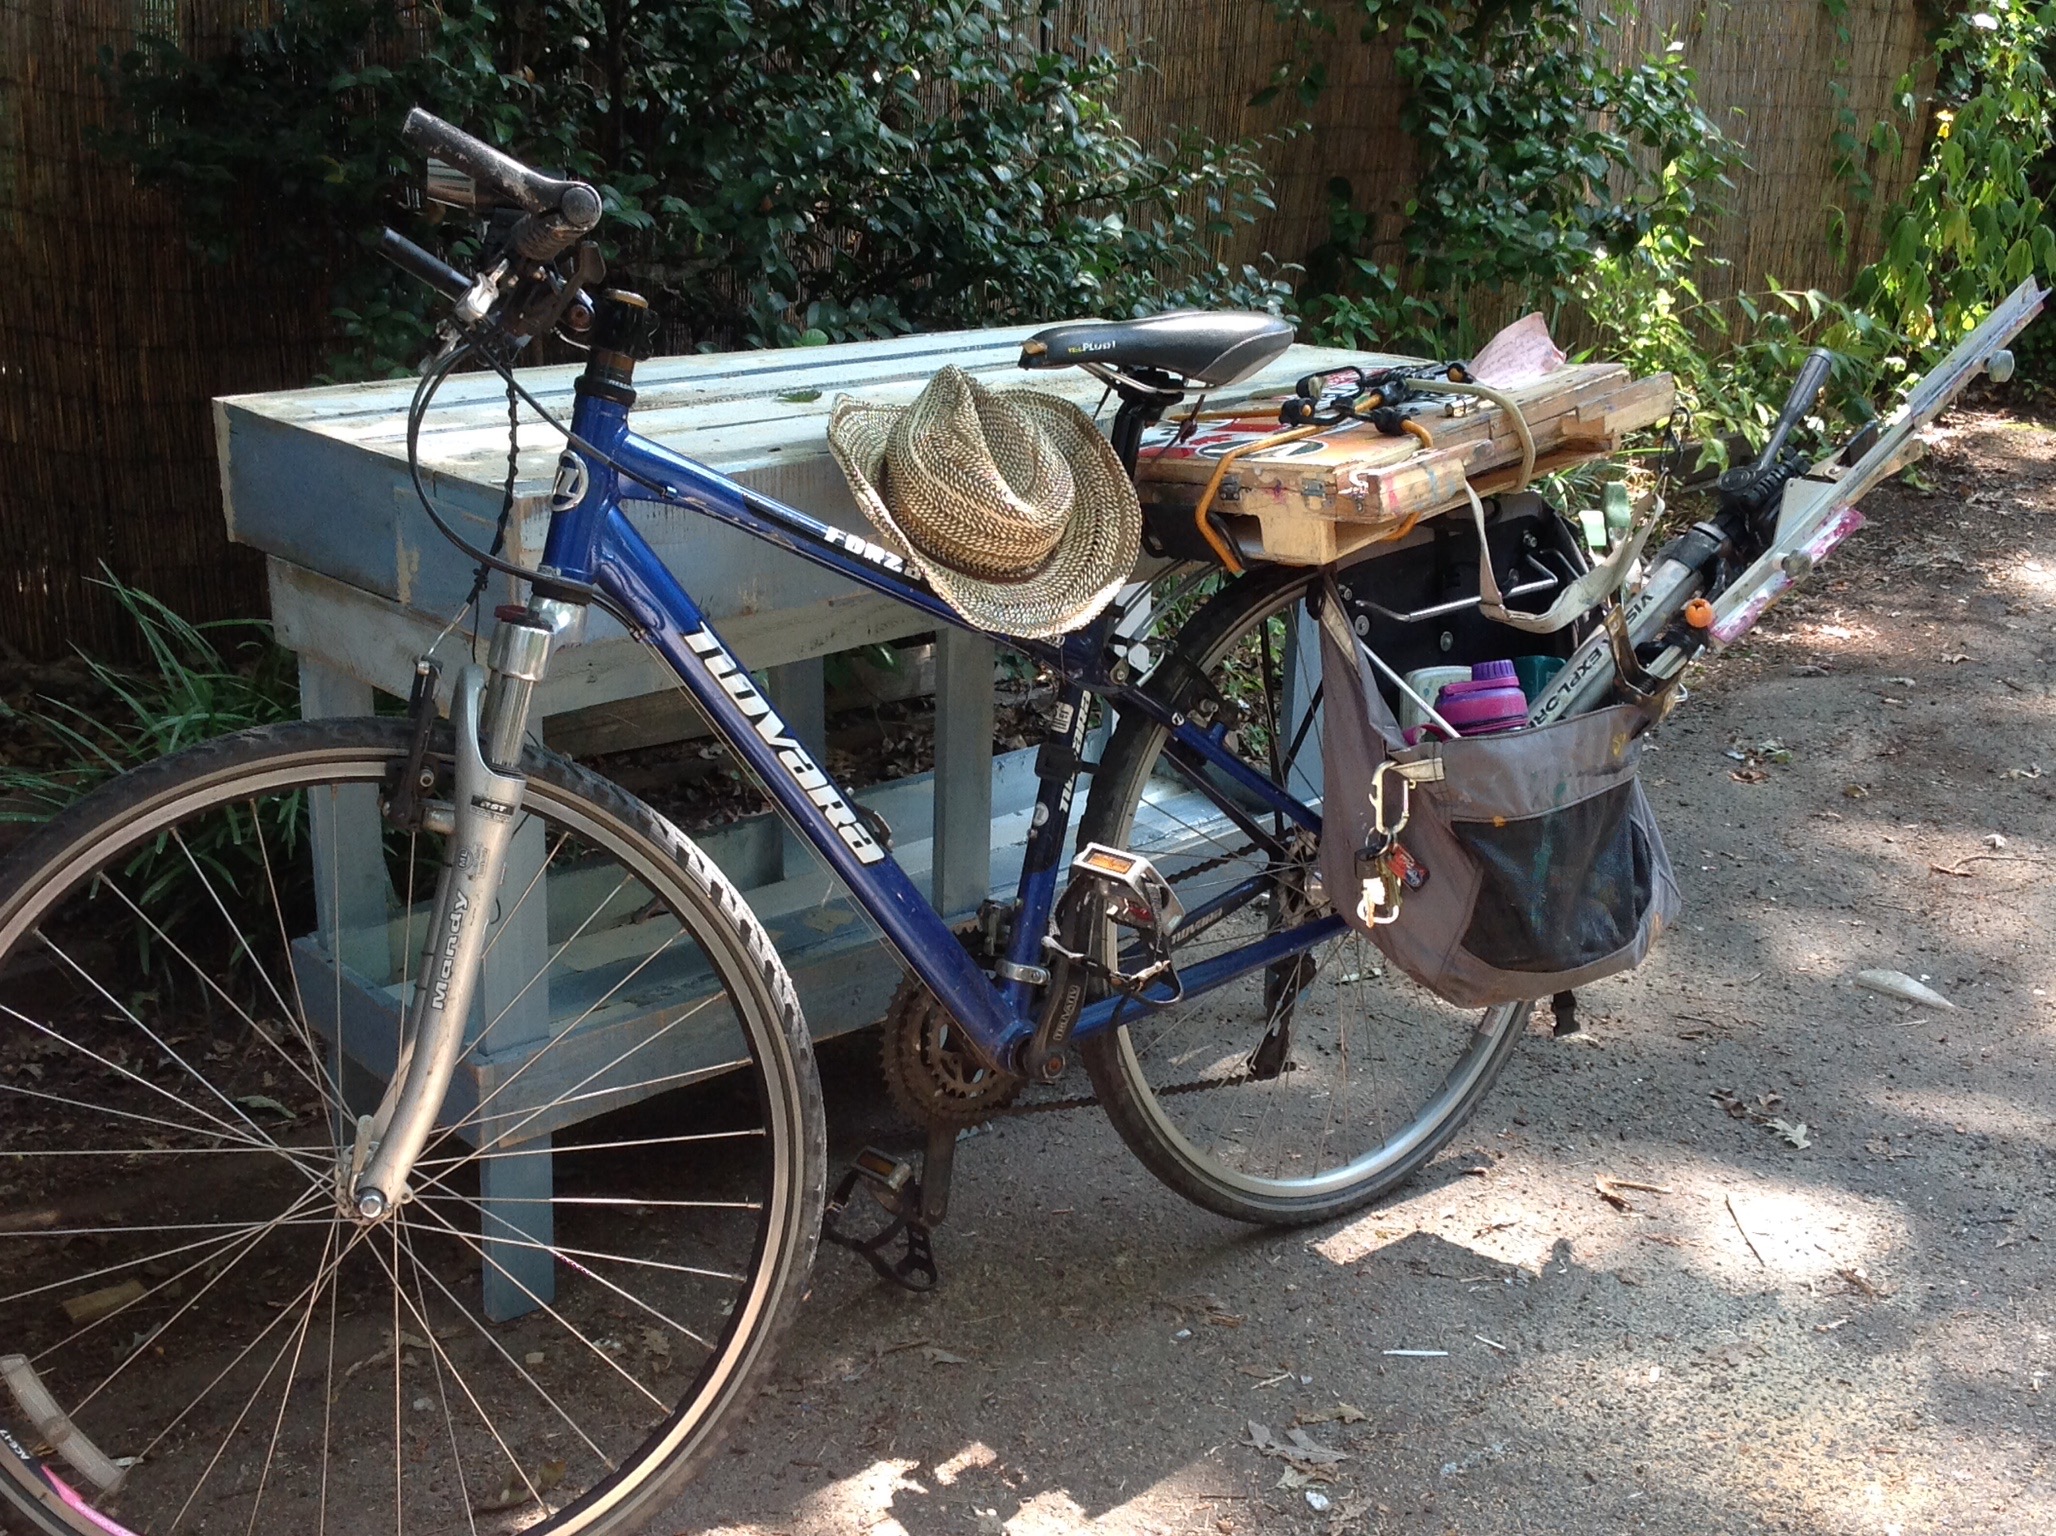
A backpack is a great help if you can get most of your supplies in it
Paints - I suggest a simple palette to start with. A cool red and blue and a warm red and blue
Example of colors
White - a big tube
Hansa Yellow or Cadmium Yellow Light - something similar(cool) Yellow Ochre , Cadmium Yellow Medium (warm)
Alizarin Crimson or Permanent Rose(cool) Cadmium Red or Hue
Ultramarine Blue (warm) Pthalo Blue Green Shade (cool)
I also like Sap Green as a great mixing color
Any other colors that make you happy
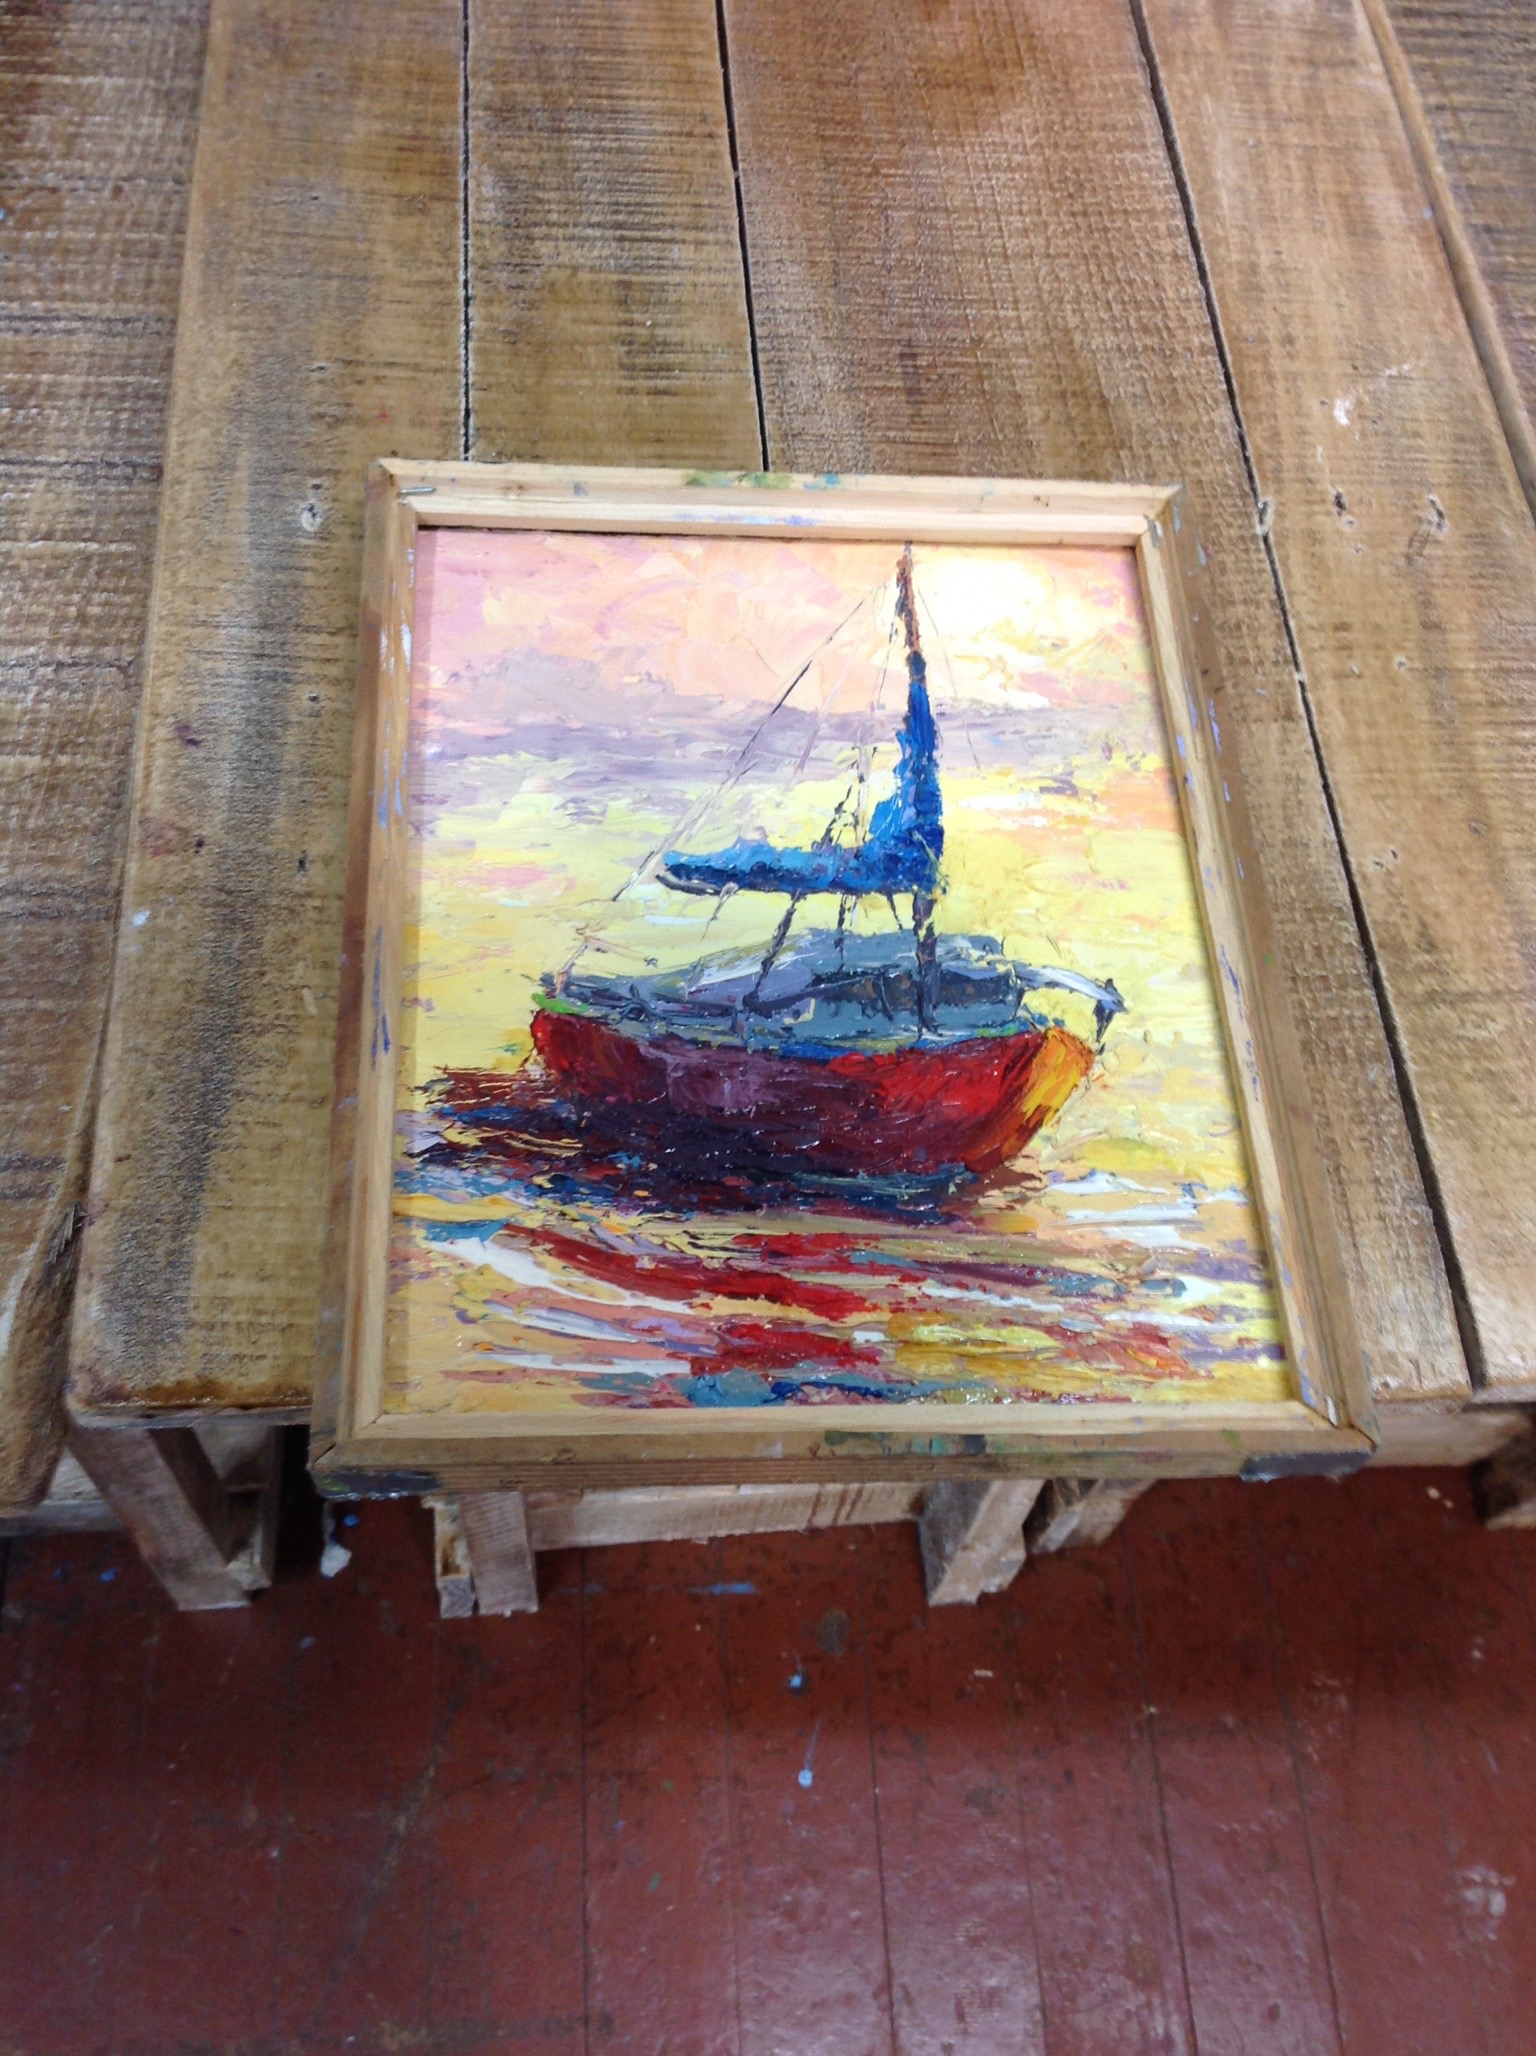
Canvas or panels. I usually use 9x12, 11x14, 12x12, 12x16 6x8
If you have a backpack or large shoulder bag that most of your supplies will fit in ā A HUGE help. You can hang your paint bag to your tripod to add weight and stability
Paper towels, baby wipes, & trash bag
A variety of brushes and palette knives of your choice
Brush cleaner and container with a tight lid to keep from spilling
Any medium you use to thin your paint.
If working in oils you will mix a lot of your colors. If working in acrylic, you might bring more pre-mixed colors to help with dry time. Also a slow dry retarder and spray bottle for misting the color and a container for water to clean brushes
Sketch book and pencil
Other helpful items
View Finder. Lot's of options out there but I like this one https://www.amazon.com/Picture-Perfect-Plus-View-Finder/dp/B001BKJ734
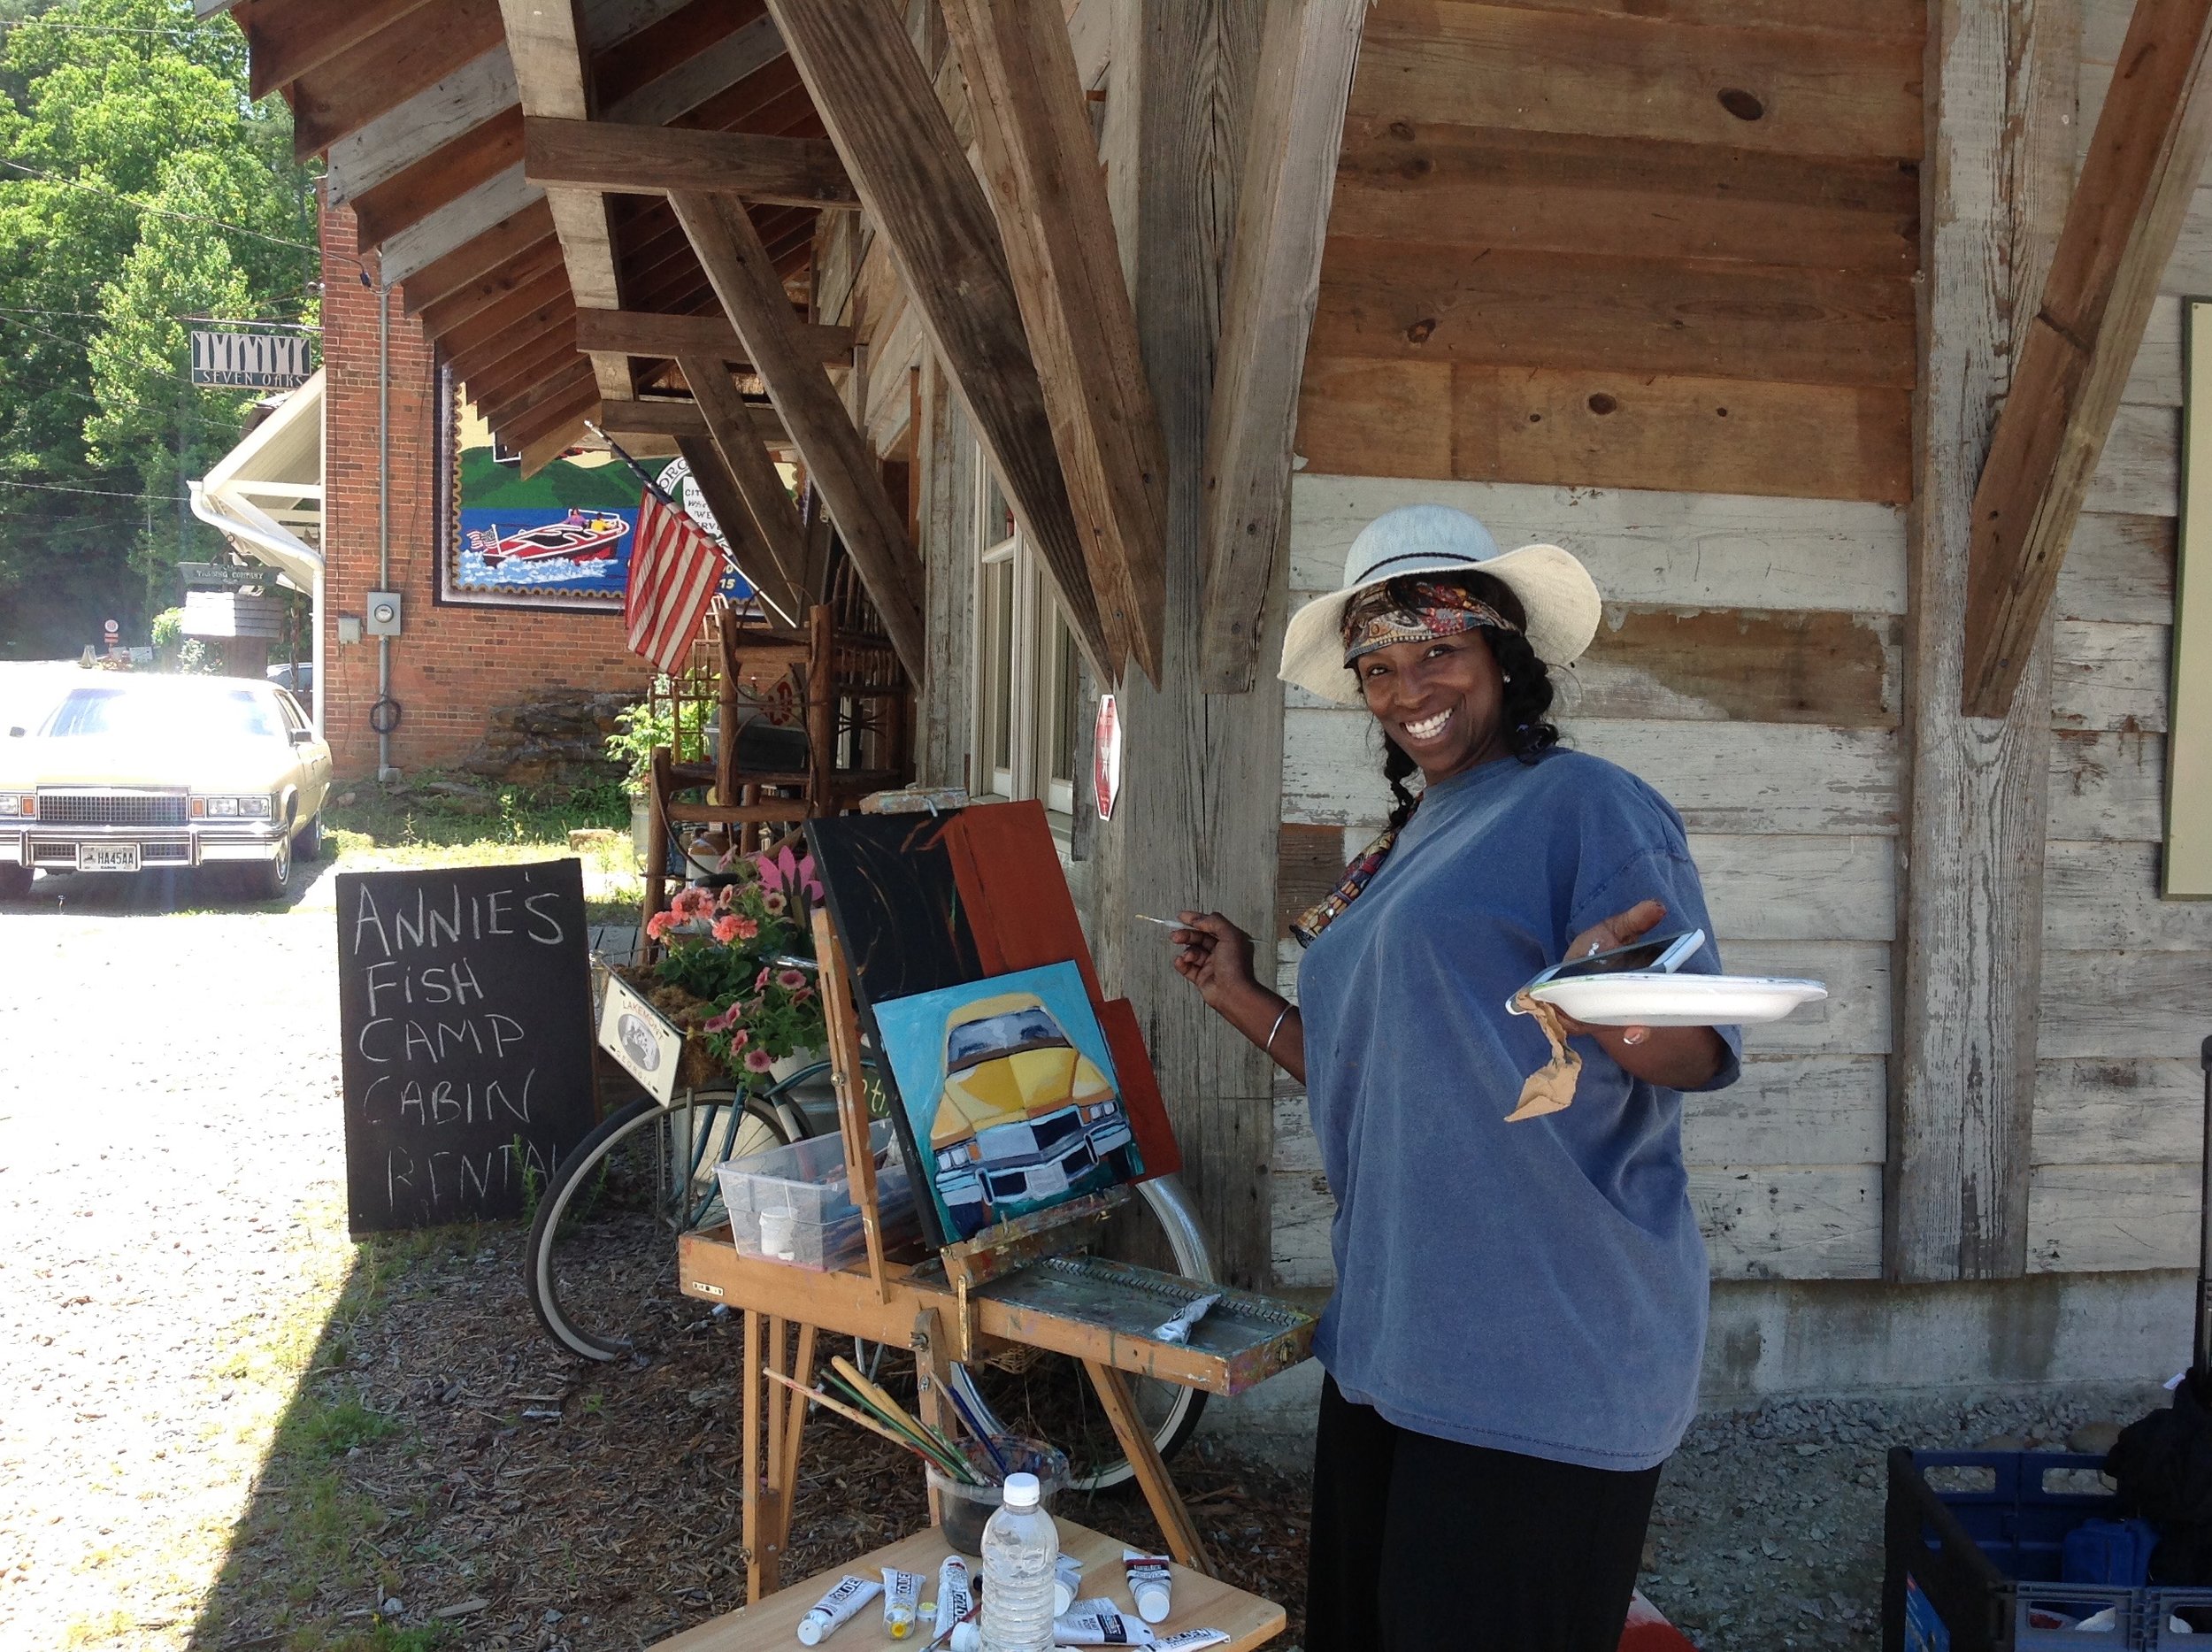
Hat - cover your face and ears
Sunscreen and bug spray
Umbrella - to use as a sunscreen or rain protection
Bag or pack to put all supplies in.
Gloves for your hands . I donāt like plastic because they are too sweaty!
Bottled water and a snack.
Chair and or table only if you want to carry it!
Ideas for Easels
Price Range for French Easels: New: $150.00 - $250.00 maximum - can find on sale at Amazon or other places like Craigs List. Facebook also has artist equipment sales pages. You can find great deals.
DIY Palette Box and Wet Panel Carrier
As I am getting ready for the 3 day painting retreat at The Parker Ranch in Clayton, I thought I would share this earlier post on how to build a palette box. If you are handy, it's nice to make your own! - Dawn
In a recent Plein air workshop, one of the students asked me to share how I made my palette box and wet panel carrier. Of course I've had that on my to do list for months, but that was the motivation I needed to get my to sit down and work on it.
A portable palette box and wet panel carrier for plein air
I typical paint 12 x 16 when working plein air, so I made the bottom of the box large enough to hold that size once I put the sides on. 13x 17 plus the handles. Once I had the back cut out, I cut out the space that will go around my tripod. I used the jigsaw and drill with a spade bit to make this cut.
Now I have base of the palette box, I made the sides. I used 1/2 inch oak for this and cut them to size using the miter saw. Next I cut a block to bring the handle up to the same height as the sides. Now I put an adjustable bracket on the handle that will hold it on to the tripod.
This is a close up of the handle. I mitered the top piece so that it can easily slide on to the tripod and the tension will hold the box in place. Also, it can be adjusted if I ever change tripods.
Time for the folding shelves. I made two sides for the shelves first to make sure I had the measurements right, then cut the panels to make the tops. Glueing and nailing them to the frames
Okay ready for the hinges. I ran four small hinges down each side.
Here's the completed box. I put blocks on the back as well with enough open space for me to guide the panels in. I have clips on the sides that will hold the panels in place. It will hold 2 panels facing each other with plenty of space between them to keep them from touching.
I also stapled elastic to the sides, that holds my palette knives, brushes and small tubes of paint. Then put mirror hangers on the sides and attach a shoulder strap and voila!!
Okay, there you have it. I hope it's helpful
Thanks Megan for motivating me to actually do this. Let me know if you have any question!
Ā
Ā
You've Come Along Way Baby!!
"I'm Still Standing!" 18 x 24 oil on panel - Dawn Kinney Martin SOLD
I started this one back in June. I was on a plein air trip with friends in my favorite painting town, Elizabeth City, NC, when I found this little gem. Back in the studio, using the plein air study, photos, and memory, I set to work to make my master piece. Months passed. A tweak here, and a tweak there....and there...... It was so close but still needs something.
Well, today, I might just have it! This might just be the day! I think I finally have it pulled together.
If you want to paint this great spot with me in October, I still have 3 spots left in my painting retreat Click HERE
This is the plein air study above and the early beginning of the finished painting
Yoga in the Studio 30 Day Challenge
30 Day Yoga in the studio
I've been missing my yoga practice for a while now. Classes are time consuming and honestly too strenuous (for me ) to keep up on a daily bases. So I decided to give myself a 30 day yoga challenge .
I found a 30 day yoga series on youtube, Yoga with Adriene. I really liked the first one. It has an easy pace and she has a comfortable teaching style. I told my friend Suzi about it, she decided to join me. Yay, It will be a lot more fun and we can keep each other honest!
I'll start my day with a 30 min yoga video and post here. - the videos - not me !! We just started Day one, but I have the first 5 days below. I'll keep adding as we go along. Maybe you'll find one you like or do the challenge yourself! - Dawn
Abrams Falls in the Studio!!
I am finally getting around to finishing my plein air studies from the Great Smokies! I have so many wonderful starts, I need to take time in the studio to finish all these ideas. On of the best parts of getting back to these - it takes me right back to the day I was out painting and everything that day.
Paint Yelapa Mexico!!
When we found out our amazing friend, Lisa, is part owner of a resort ( casitas - think glamping ) and bar in Yelapa Mexico, Rob and I booked a flight and packed our bags!!! Yelapa is a hidden gem - a beautiful little fishing village tucked away in a southern cove of Mexico. It's super safe, really laid back, weather is perfect, wonderful food, and so affordable!!! Everything you need for a painting trip. You get there by water taxi from Puerto Vellarta and then step away from the crazy pace most of us live in today. This was a discovery trip with the idea of a starting a plein air retreat with Lisa at Oasis by the River in 2018. I could go on and on, but just look at the photos below and decide for yourself. Even if you can't join me for a painting trip at the Oasis, it's worth putting Yelapa on your bucket list.
Join me for a wonderful painting retreat in February 2018. I'll have more info up soon.
Happy Painting,
Dawn
Snow Day!!
Another bike painting for you. During the winter months, I become obsessed with capturing the variations of grays around me. Here a painting of a dedicated cyclists traveling in a snow storm with style. If I could be so dashing on my bike!
Still time to sign up for classes!
I have room for one more in the Wed morning class and 1 for the 5 week session on Tuesday nights. Join me if you can. Classes start this week!
Ā
Favorite Subject For Painting
I love painting scenes of cyclists. I guess it makes me feel the joy of being out on two wheels while working in the studio! Here I'm using a photo by my friend and great photographer Kevin McPeake for my inspiration. You can check out his work on Facbook
I loved this photo when I saw it: love the diffused light and the mystery in the fog. I painted this image about a year ago ( middle image ), but decided to give it another try and work on the grays a little differently. Here's the second attempt ( the image on the right). I was a little bolder with the reds. Although it similar to the first painting, this one feel more like night time to me.
Classes Start Back Next Week!!
Happy New Year!!!!
I hope everyone had a little fun and adventure over the holiday.
I know I'm a little late getting the class schedules out, but here it is. I'll add a few more 1 Day workshops soon, but wanted to get the weekly class schedules out before it was too late!
Classes and Workshops
Tuesday Evening Painting Studio
Tue, Jan 10 - March 21 ( No Class Jan 24 ) 6:15pm - 9:15pm 10 Weeks $295, 5 weeks $175. Next series begins April 4
Painting Techniques for all levels
Wed, Jan 11- Feb 25 ( No Class Jan 25 ) 10:00am - 1:00pm 6 Weeks $225. Next series beginsMarch 16
Plein Air Retreat At Parker Ranch
3 Day Workshop Fri. May 5, 1:00pm through Sun. May 7, 3:00pm
3 1/2 Day Plein Air Retreat Coastal North Carolina
More info soon
3 Day weekend in October- still working on the dates.
3 nights lodging and some meals included. Check in Thurs. - check out Sun afternoon. $485
I hope to see you in a class soon. Please get in touch if you have something in mind you 'd like to see me teach a class on
For more info, check out my Classes page.
Join me if you can. I'd love to paint with you!
Dawn
Just in the Nick of Time
Weekend Getaway 24" X 36" oil on canvas
The frame just came in and I'll be able to deliver this commission tomorrow - Yay!!! We were down to the last minutes, but I'm so happy I'll be able to deliver before Christmas.
I've been working closely with the family on this projects, but it just took time to get all the decisions ironed out. It's always worth taking it slow to make sure it's a painting they love and I'm glad we didn't rush.
Now I look forward to taking a few days to spend with family.
Happy Holidays!
Dawn
On the Easel - Tallulah River
Tallulah River 24 x 36 oil on canvas
This is a good time of the year to tackle those unfinished paintings laying around the studio. Time to give them a little love. Here's one I've almost finished. Yay, time to get to work on another one!
DIY Kitchen - Making New Cabinets from Pallet Wood
Phase 1 - Out with the old sink cabs and in with the new! Over the holiday break I decided to finally redo our kitchen. We've had a plethora of plumbing problems and just couldn't put it off any longer. ( The water was coming out the back wall!) I decided to build the cabinets using palette wood. I like the character of reclaimed wood and at free, the price is right!!
Now to build the wall cabinets! They are a basic box with a facing and shelves. Once built. I filled the cracks and gaps with a wood putty, then sanded everything with a belt sander. Since I'm using various types of wood, I put on a white wash to even out the variations of color. When that dried, I coated them with a stain and several coats of polyurethane
On the wall! Building the wall cabs first meant I could stand on the sink to install these and not worry about messing anything up. Making separate units meant that I could actually carry them and get them on the wall, adding the doors and hardware later.
Next up - the sink and counter top.The sink cab and counter top took about a week to make. Drawers are hard!!! It was pretty much the same steps for the cabinet. Putty, sand, white wash and stain, but the counter top was a little different. I cut down a 1/2 inch piece of plywood to size and cut the hole for the sink. Next, I glued and nailed down wood that was the same thickness to the plywood. For contrast, painted the top white with just a touch of the grain coming through. Then 5 coats of urethane gave it a smooth aged character.
I did the back splash just like the counter top, but without all the urethane coats. This made it a little lighter and you can see more of the grain. I don't EVEN want to get in to all the plumbing problems. That was the real headache of the job!!!
And here we go!! Except for the trim, phase 1 of the new kitchen. Leak free with new sink and faucet! Even put in a filtered water faucet. For phase 2, I'll build other cabinets to go around stove, but for now, I can't wait to get back in the studio to paint.